
Magento 2 offers several different product types. One of these product types is a Downloadable Product. A downloadable product is a digital file that a customer can purchase from your site, such as a music file, eBook, software application, instruction manual, video, or update. Downloadable products can be configured so that customers receive an email with a link for the file/product (after they’ve completed their purchase) or require them to log in to their account to access the download.
In this article, we will go through all the steps to create a Downloadable Product.
Creating Downloadable Products
To Get Started – Choose the Product Type:
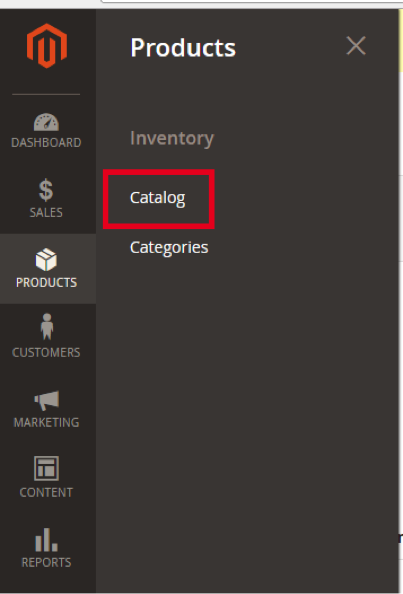
To begin the process of creating a downloadable product for your Magento 2 site, log in to the Magento Admin. From there, navigate to Products > Inventory > Catalog
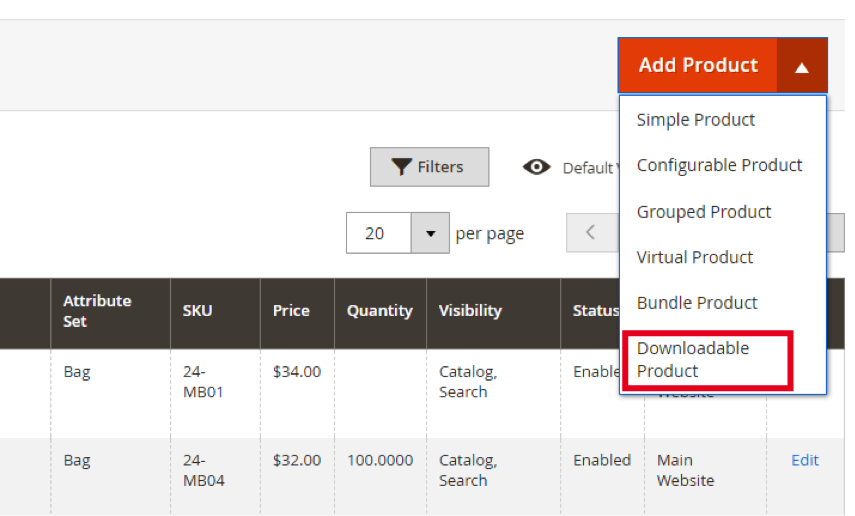
Next, click the Add Product drop-down button in the top right corner. Select Downloadable Product:
Step 2 – Product Details:
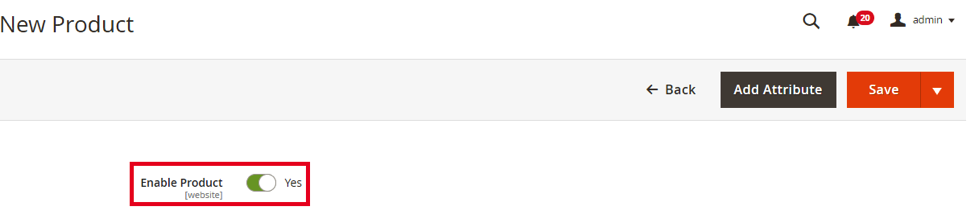
You are now ready to start adding specific details for your downloadable product on the New Product page.
At the top, you’ll see Enable Product with a toggle switch – this indicates if the product is enabled and viewable on the front end of your site, or disabled so that customers can’t see the product on the front end. You can toggle this to be disabled while you’re setting up your product and making changes until you’ve completed the product and are ready for it to be viewed by your customers.
The first field you’ll see is Product Name – this is the name of your product that will be displayed to your customers. Followed by several more fields that help you fully build your Downloadable Product:
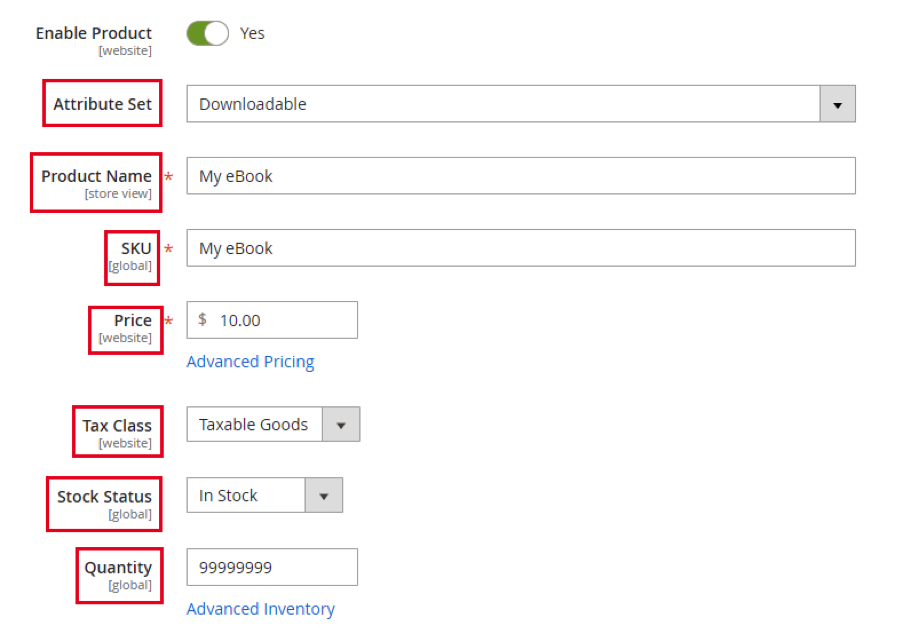
- Attribute Set: Select Downloadable from this drop down
- Product Name: The name of your product
- SKU: This will generate automatically based on your product name – you can also change this to be a custom SKU
- Price: The price of your downloadable product
- Tax Class: Select Taxable Goods or None
- Quantity: The amount of the product available to sell
- Stock Status: Select In Stock from drop down
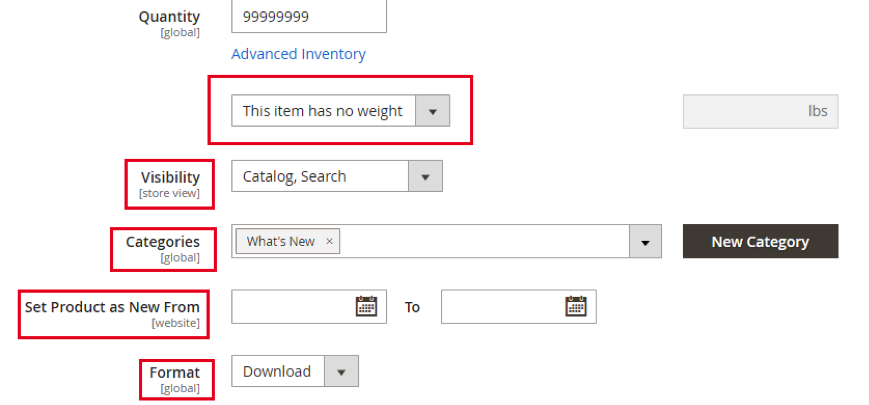
- Weight: Select This Item Has No Weight
- In some versions of Magento 2, you may have the option to click a box in this section that says “Virtual/Downloadable”
- Visibility: Select Catalog, Search – This will allow your customers to search for the downloadable product via the site’s search functionality and access the product based on categorization.
- Categories: Click the Select drop down box and choose one of the pre-existing categories in the list, or:
- Click the New Category button to create a new category that your downloadable product will appear in
- Set Product as New From: Optional start and end dates for your product to appear as New on your site
- Format: Select either Download or DVD from the drop-down
- These 2 formats are the standards options to select from. You can edit the Downloadable Attribute Set if you’d like to add more options to this selection.
Next, you’ll enter in additional information about your product:
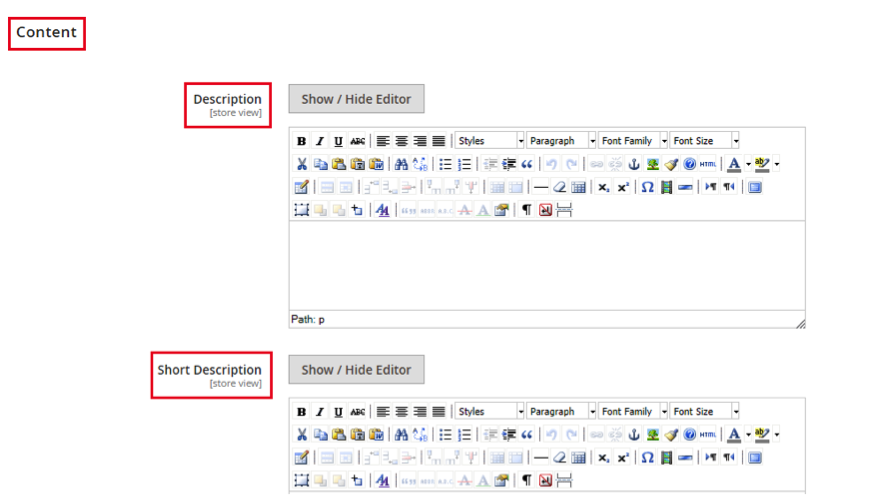
- Content: This is where you’ll enter in a description of your product that will appear on the product page.
- Configurations: This section can be skipped, as these cannot be applied to downloadable products. (Configurations would be applied to a simple product that would have different options/configurations, such as size or color.)
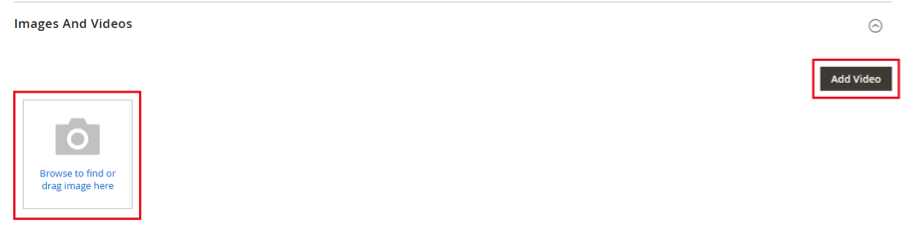
- Images and Video: This section allows you to upload images or videos for your product.
- Click the camera icon to browse and select an image
- For video, click the Add Video From here, enter in the required information, including the URL for the video and Title. You also have the option to add a description.
- Once done, click the orange Save button at the top right.
- Search Engine Optimization: This section is where you’ll input information that search engines will use to index your site:

- URL Key: This will automatically generate based on your product name. You can also change this to a custom URL key.
- Meta Title: This is the text that appears at the top of browser windows. The default will be based on your product name, or you can change this to be a custom Meta Title.
- Meta Keywords: Keywords that describe your product.
- Note: Google announced in 2009 that meta keywords are no longer a factor when ranking a website, so this section is typically skipped by most store owners.
- Meta Description: This is the text that shows in search engine results. 150-160 characters is typically used for best results.
- Related Products, Up-Sells, and Cross-Sells: These different button options allow you to add promotional blocks of additional products that your customers may be interested in. Learn more about Related Products, Up-Sell and Cross-Sells in our guide!
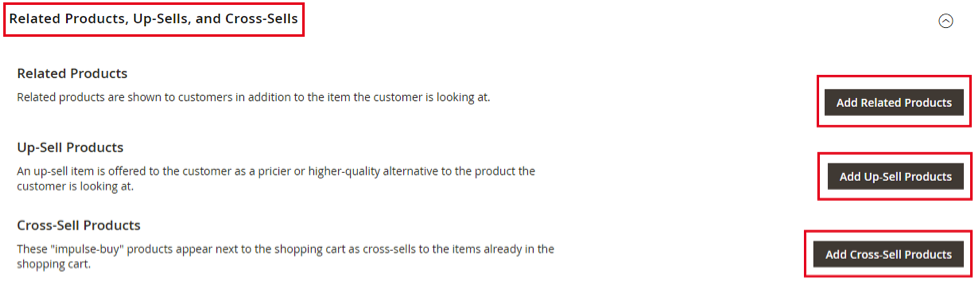
- Related Products: These are usually products that are meant to be purchased in addition to the product your customer is viewing. Placement of these differ based on your website’s theme and page layout, but are commonly found at the bottom of product pages or on the sidebar.
- Up-Sell Products: These are products that your customer may be interested in instead of the product they’re currently looking at. These usually appear at the bottom of product pages.
- Cross-Sell Products: These products are the last minute items to display to your customer before checkout. These are usually displayed on the Shopping Cart page.
If you want to learn more about configuring Related Products, Up-Sell Products and Cross-Sell Products be sure to check out our guide!
- Customizable Options: This section allows you to add variations to your product. This will be skipped over in this article since Downloadable Products don’t allow for these types of variations.
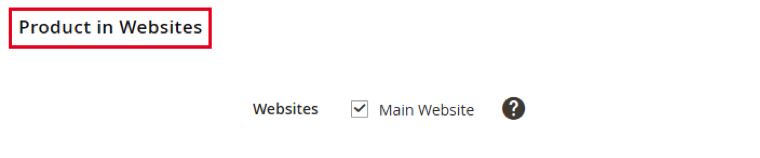
- Product in Websites: If you have multiple sites/stores inside the same Magento 2 installation, you can select which specific sites/stores this product will appear on.
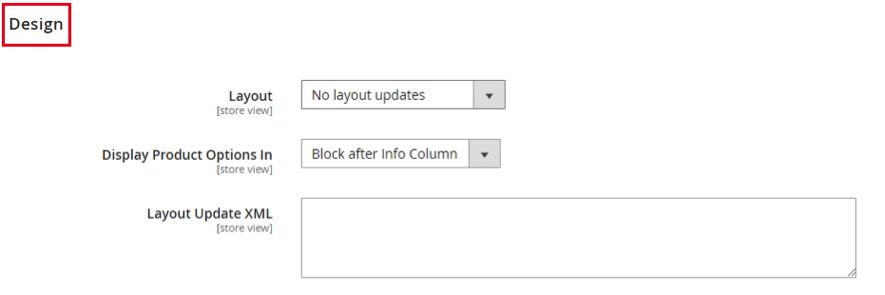
- Design: This section allows you to select and apply a different theme or layout to this specific product page.
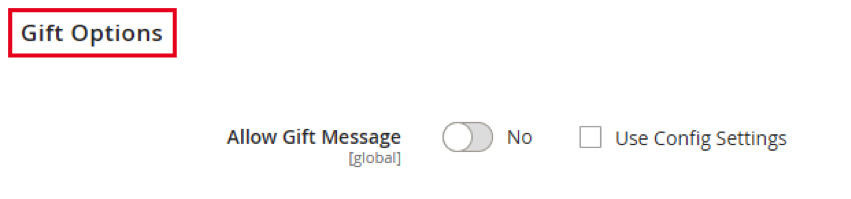
- Gift Options: This section allows you to offer a Gift Message that’s included with this product during checkout.
The next section is Downloadable Information. This is where you will set the specifications for your downloadable product:
- The Is this downloadable Product? the checkbox should already be marked, but if not, check this box.
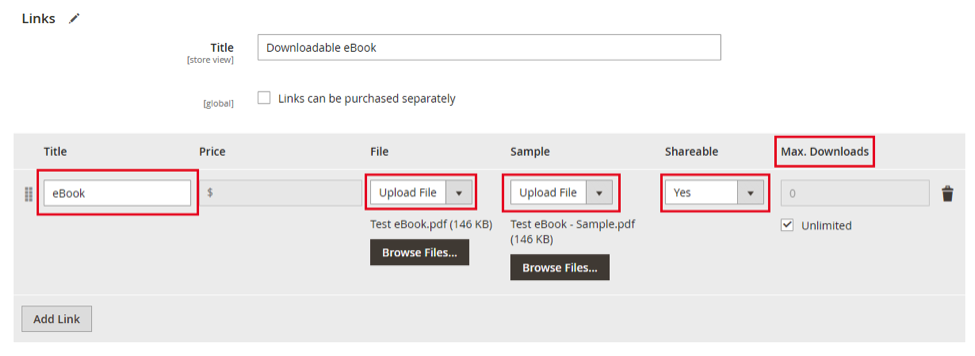
- Under Links, you’ll see the input box to enter the Title you’d like to use for the heading of your download links.
- The Links can be purchased separately checkbox can be marked if applicable.
- If you check this box, customers will be able to buy downloadable links separately. You can set the price for each individual link and the number of times each one can be downloaded.
- If you leave this box unchecked, the price of the link will not change.
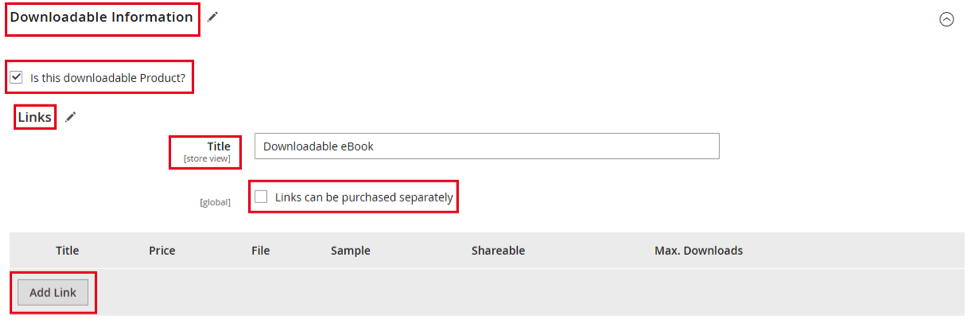
- Click the Add Link button:
- Add the Title of the download
- Add the Price of the download
- For File and Sample, choose Upload File or URL from each dropdown:
- Upload File: Browse to the file and upload
- URL: Enter the full URL of the file
- Set Shareable to either Yes or No:
- Yes: This option sends the link to the customer via email, allowing them to share it with others.
- No: This option requires a customer to login to their account to access the link.
- Use Config: This option will use the method that is set in the Downloadable Product Options configuration within your Magento 2 store settings configuration.
- Downloads: Enter the number of times a customer can download this product. Or, check the “Unlimited” box for unlimited customer downloads.
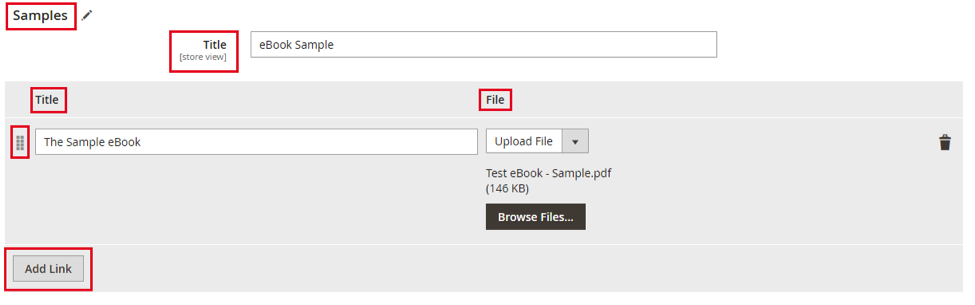
- Samples section: The ‘Samples’ section allows you to upload a snippet or a portion of the downloadable product to review prior to completing the purchase.
- You’ll see the input box to enter the Title you’d like to use for the heading of your Samples.
- Click the Add Link button:
- Add the Title of the sample
- File: Choose Upload File or URL from the drop-down:
- Upload File: Browse to the sample file on your desktop and upload
- URL: Enter the full URL of the sample file
- To add another Sample, click the Add Link button
- To rearrange the order of the Sample files, click and drag the Change Order (dotted column) icon to the left of the Sample
The final step is to save your downloadable product. Click the orange Save button at the top right of the screen.

Viewing Your New Product
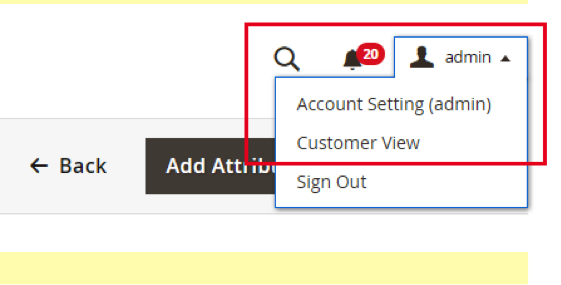
Now, you can navigate to the front end of your site to view your new downloadable product. To quickly do this from the product page you just created, click the Admin/down arrow drop-down above the Save button. Choose Customer View, and your site will open your store in a new tab. From here, you can search for your new downloadable product.
Now, testing this as a user on the front end of your site, you can view how this will look and function for your customers.
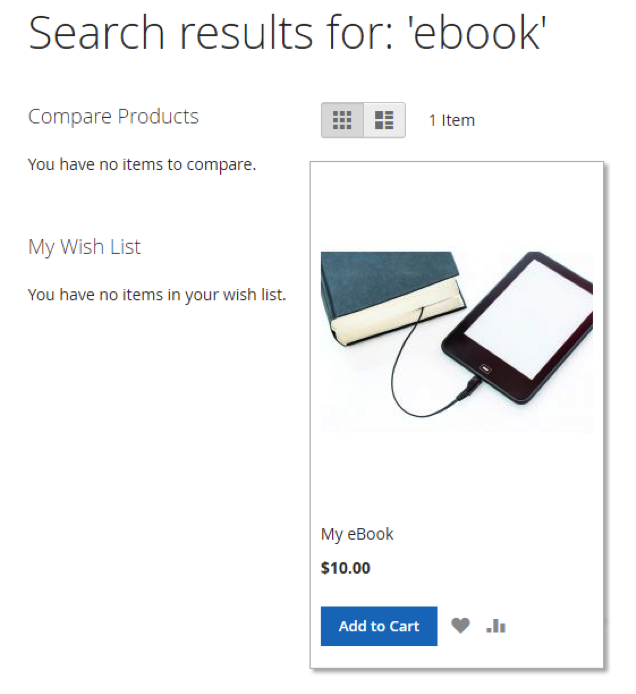
After going to your downloadable product page, go through the checkout process to purchase this item.
Important Note: If a customer is purchasing a downloadable item only, they may notice that the standard Shipping Information section of the checkout process is missing. This is standard for downloadable products (only) in the cart, as there is no physical item being shipped, negating the need to collect shipping information from the customer. They will only be prompted for their Billing Information, and then to place their order.
Once completed, you’ll receive an email confirmation of your purchase, which will include a download link to access your downloadable product.
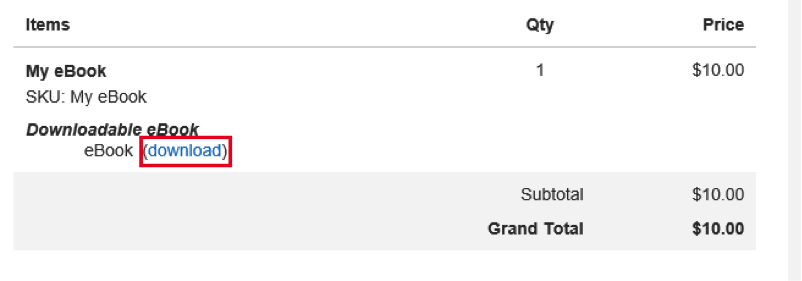
Once the order has been invoiced and is no longer in a Pending state, the download link within the customer email will take the customer to the downloadable product file.
Closing Thoughts
Offering Downloadable Products on your Magento 2 site is a great way to increase sales by providing products to a wider range of customers without dealing with expensive shipping costs, allowing unlimited inventory of the product with complete scalability, lower overall costs including packaging and storage, and fewer errors involving shipping and delivery.
If you have any questions or comments about setting up downloadable products, other product types, or other administrative settings in Magento 2, we’re here to help! Fill out our contact form today to connect with us, or reach out via our live chat – let us know what your goals are and how we can help you achieve ecommerce success!