
Running an eCommerce business offers unique opportunities to fine-tune marketing messaging and personalize suggestions based on customer behavior.
One of the best ways to personalize the customer experience on your Magento 2 store is to offer up-sell, cross-sell, and related product suggestions. Magento 2 comes with up-sell, cross-sell, and related product suggestion functionality built in by default.
“Use up-sells, cross-sells and related products to sell more on your Magento 2 store.”
In this article we will cover:
- Overview of Differences Between Up-selling, Cross-selling, and Related Products
- What is Up-selling?
- How to Set Up Up-selling In Magento 2
- What is Cross-selling?
- How to Set Up Cross-selling In Magento 2
- What are Related Products?
- How to Set Up Related Products in Magento 2
Up-Selling, Cross-Selling and Related Products – What’s the Difference?
Up-selling, cross-selling and related products are different marketing features you can configure on your Magento 2 store to help you sell more.
There are few key differences to remember when utilizing these options:
- Up-Sells: Direct your customers to improved versions (i.e. more expensive) of products they already have or want to buy. These suggestions appear on the product page.
- Cross-Sells: Direct your customers to products they might be interested in buying in addition to the product they are already buying. These suggestions appear on the cart page.
- Related Products: Direct your customers to products to other products of the same type or category as the one they want to buy, allowing them to see options and variations available. These suggestions appear on the product page.
What is Up-Selling?
Up-selling is a sales technique where you suggest to your customer that they might prefer to buy a more expensive version of an item, to upgrade an item they already have, or to add features or other add-ons to an item.
For example, if a customer is browsing for a laptop on your site, and they are looking at a model with a 500gb hard drive, you might suggest an upsell of a larger (and therefore more expensive) hard drive.
In Magento 2 up-sells appear on a product page under a heading that might say something like “You May Be Interested In The Following Products”.
How To Configure Up-Sell Products on Magento 2
Step 1:
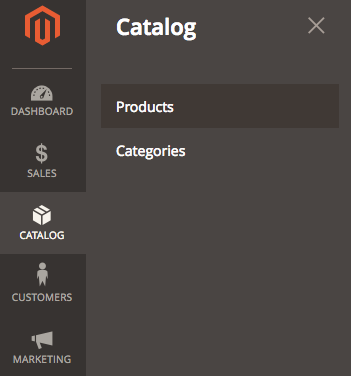
From your Magento 2 backend administrative dashboard, navigate to: Catalog > Products
Step 2:
Select the product you want to add up-sell products to and open the product in the product edit screen by clicking “edit” under the action column.

Note: The columns on your Products page may look different than the above example depending on how you have your column view settings configured.
Step 3:
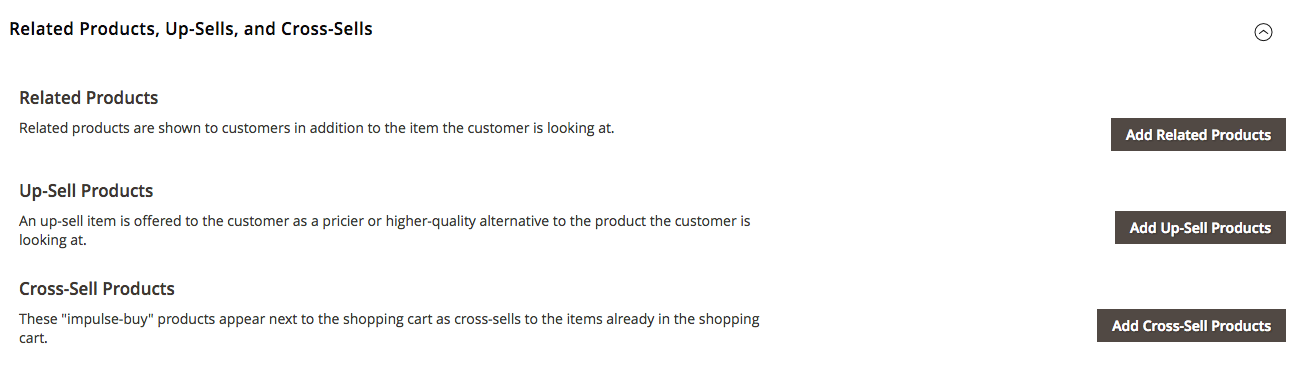
On the product edit page, scroll down to the Related Products, Up-Sells, and Cross-Sells section and click the arrow on the right to expand it.
Step 4:
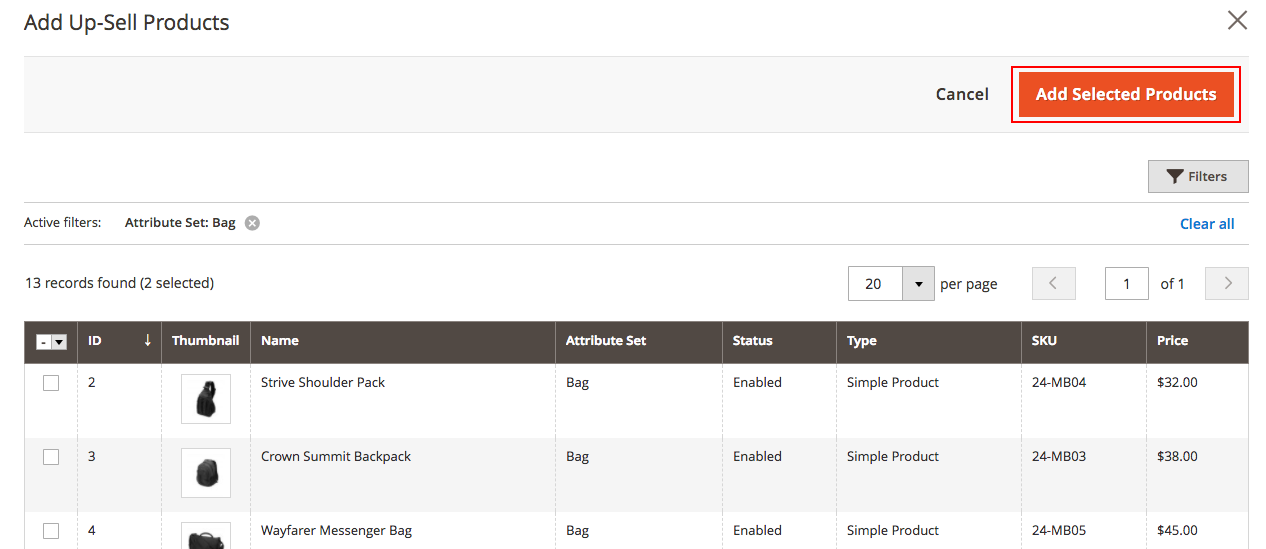
Select the Add Up-Sell Products button to bring up the screen to select the products you want to add. On this screen, you will see a list of all of your products.
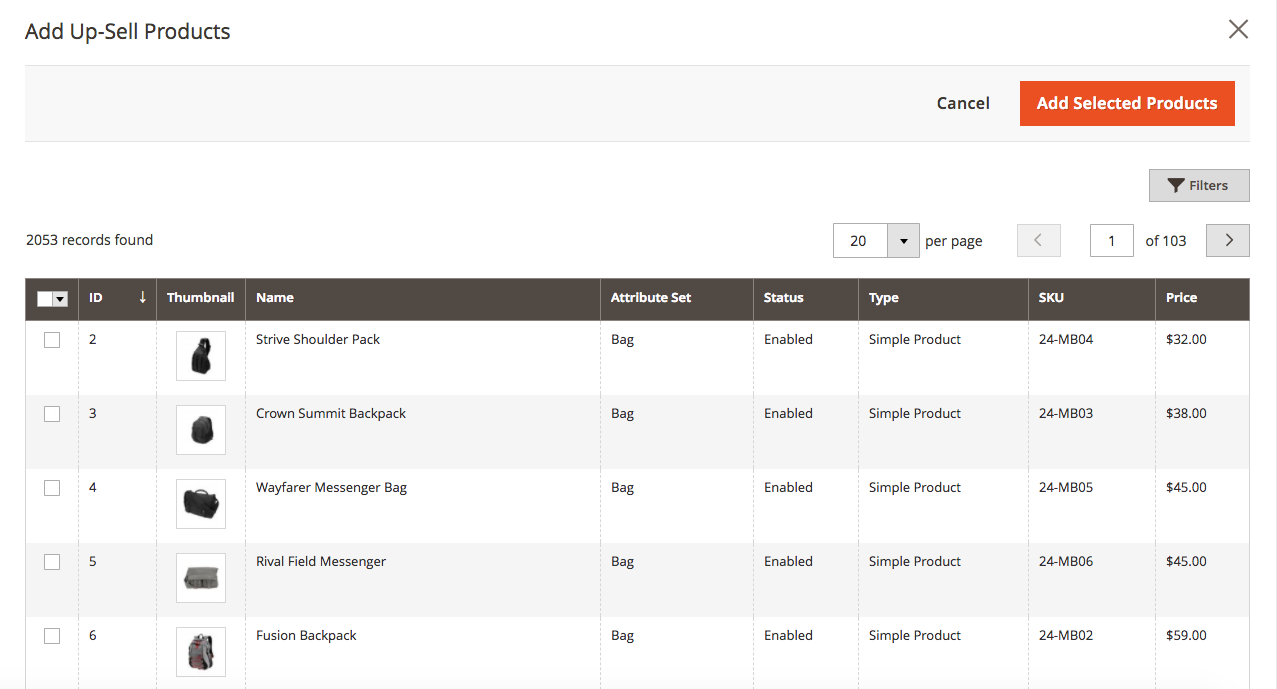
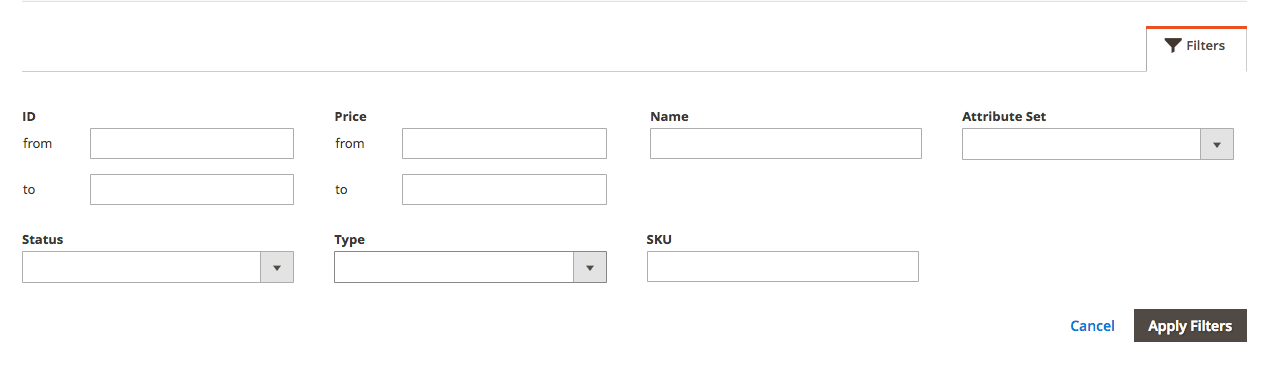
Note: If you have a lot of products, you may want to use filters by selecting the filters button on the top right to help you find the products you are looking for.
Step 5:
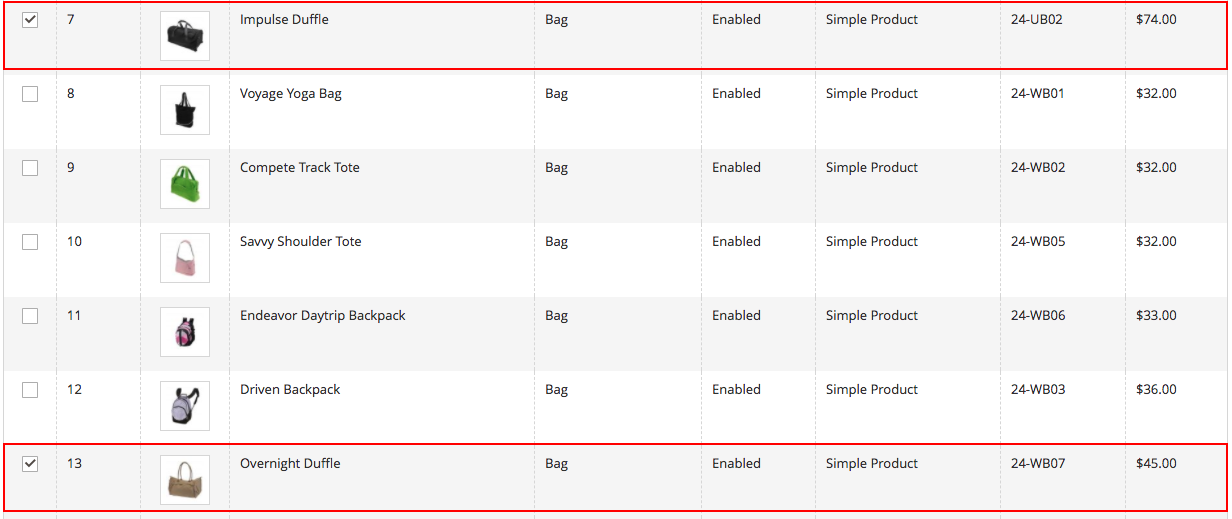
Select the products in the list that you want to add by selecting the checkbox next to the product. Make sure that the status of the product you are adding is set to Enabled or your product will not be able to appear on your front-end.
In this case, we have a duffle bag that costs $34 as our product we want to add up-sell products to, so I am going to select duffle bags that are larger (and therefore more expensive) as my upsell.
Step 6:
When you are done selecting the products that you want to add click the orange Add Selected Products button in the top right corner.
Step 7:
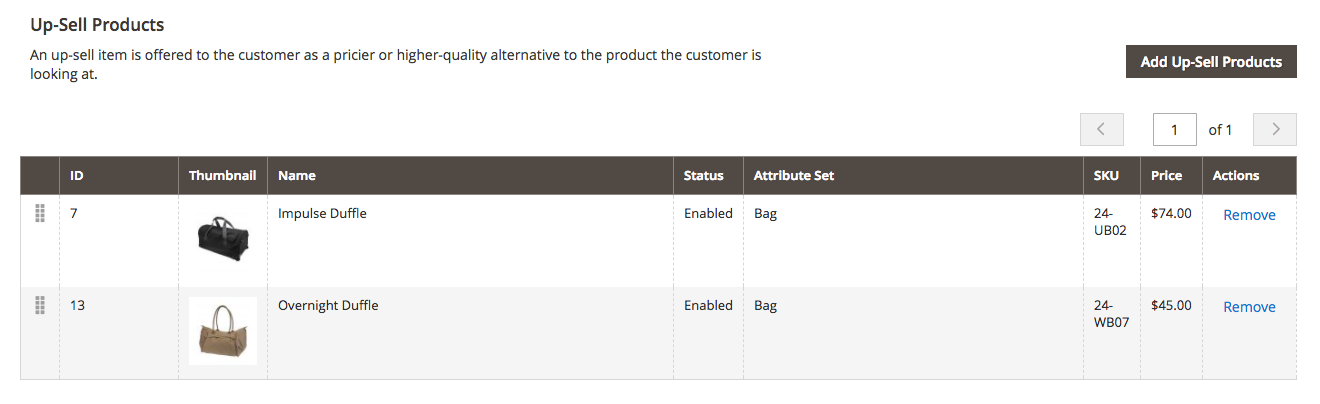
After you add your selected products, you will see the list of products you added appear back on the product edit page under the Up-Sell Products section. You can easily remove them from this screen as well.
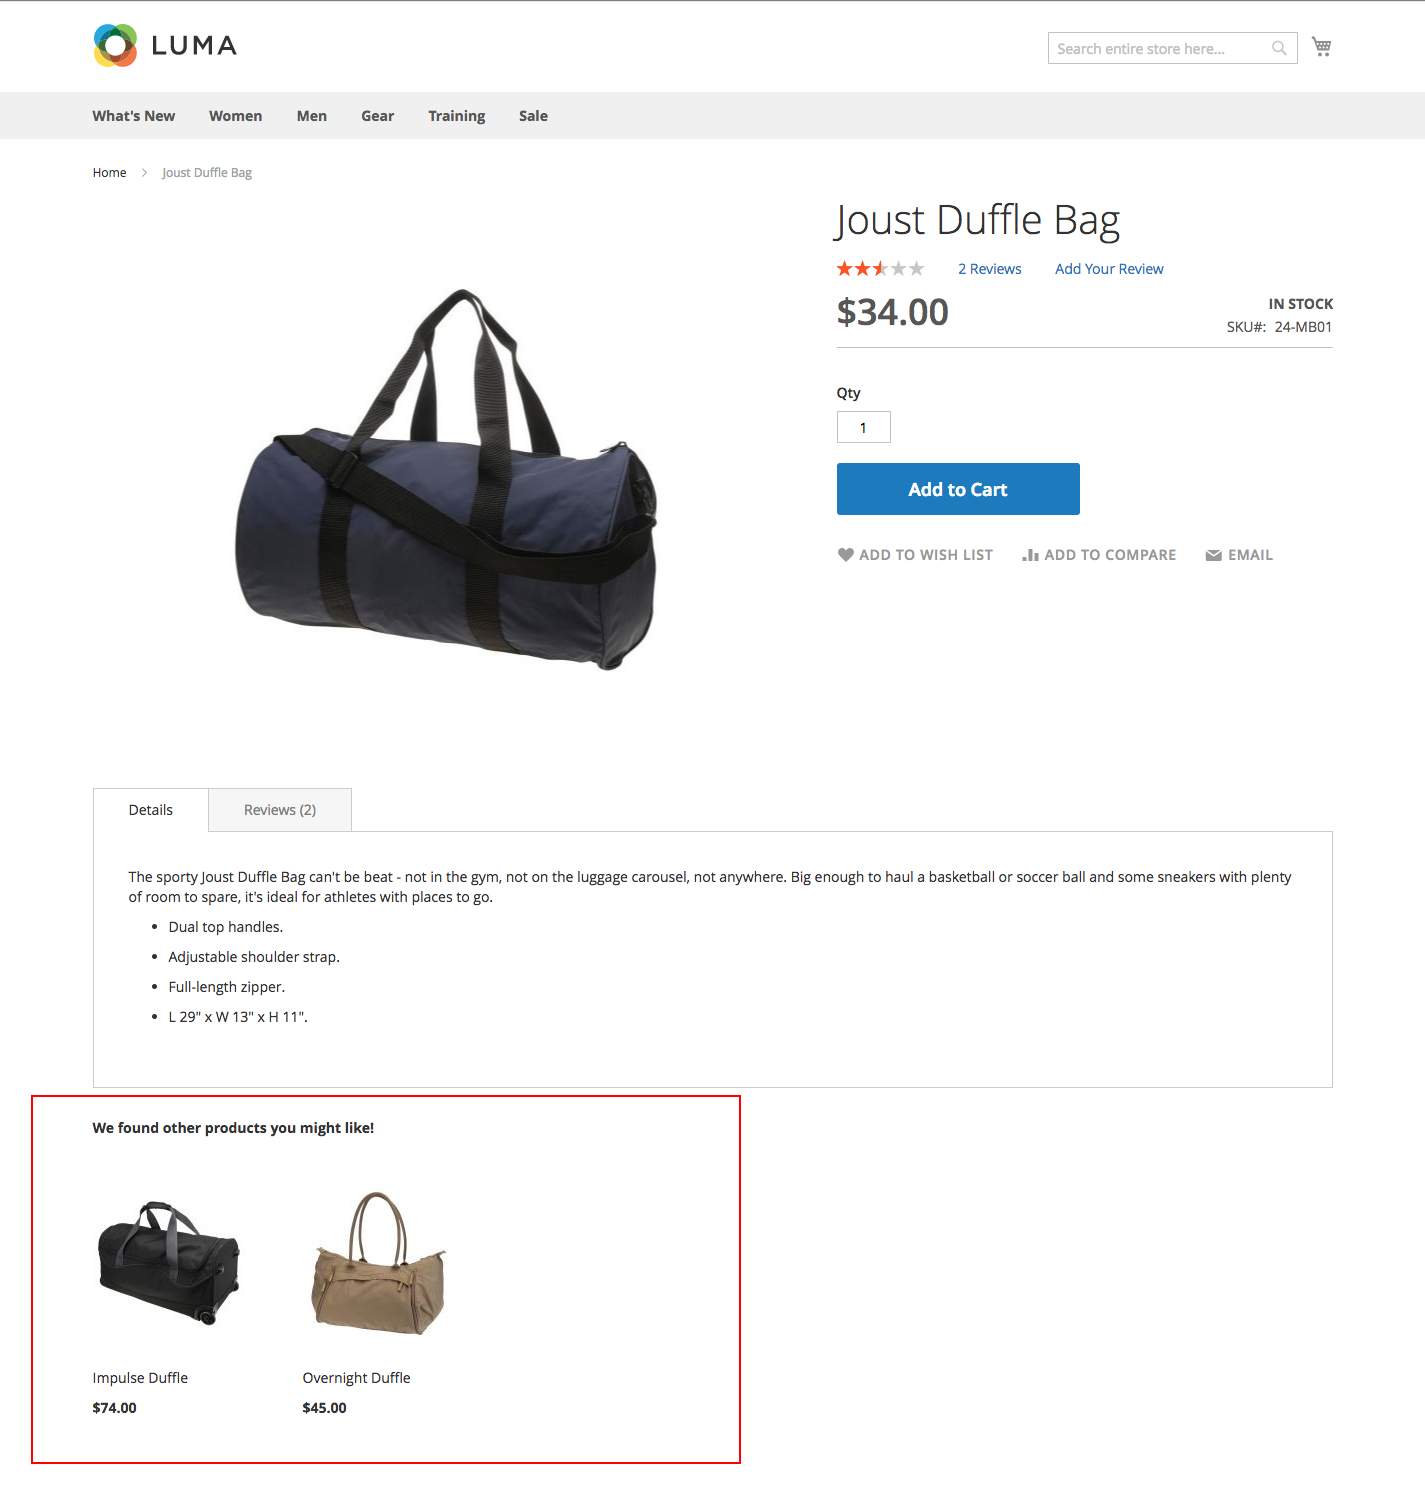
If you navigate to the product on your front end we will see a section towards the bottom that is labeled “We found other products you might like!” with the products we just added as up-sells.
What is Cross-Selling?
Cross-selling is a sales strategy to sell products that are different, but possibly related to a product your customer already has or is buying. It offers customers the option to buy complementary products in addition to the main product they intended to purchase.
For example, if a customer were purchasing a mobile phone, you might want to suggest they purchase headphones or an additional charging cord along with their new phone.
In Magento 2 products that are offered as cross-sells appear on the shopping cart page just before your customer starts to check out. Think about how items such as candy, gum, and magazines are placed near the checkout in grocery stores. These are items that your customers may not have intended to buy while they were shopping, but these items enhance the shopping experience.
How To Configure Cross-Sell Products on Magento 2
Step 1:
From your Magento 2 backend administrative dashboard, navigate to: Catalog > Products
Step 2:
Select the product you want to add up-sell products to and open the product in the product edit screen by clicking “edit” under the action column.

Note: The columns on your Products page may look different than the above example depending on how you have your column view settings configured.
Step 3:
On the product edit page, scroll down to the Related Products, Up-Sells, and Cross-Sells section and click the arrow on the right to expand it.
Step 4:
Select the Add Cross-Sell Products button to bring up the screen to select the products you want to add. On this screen, you will see a list of all of your products.
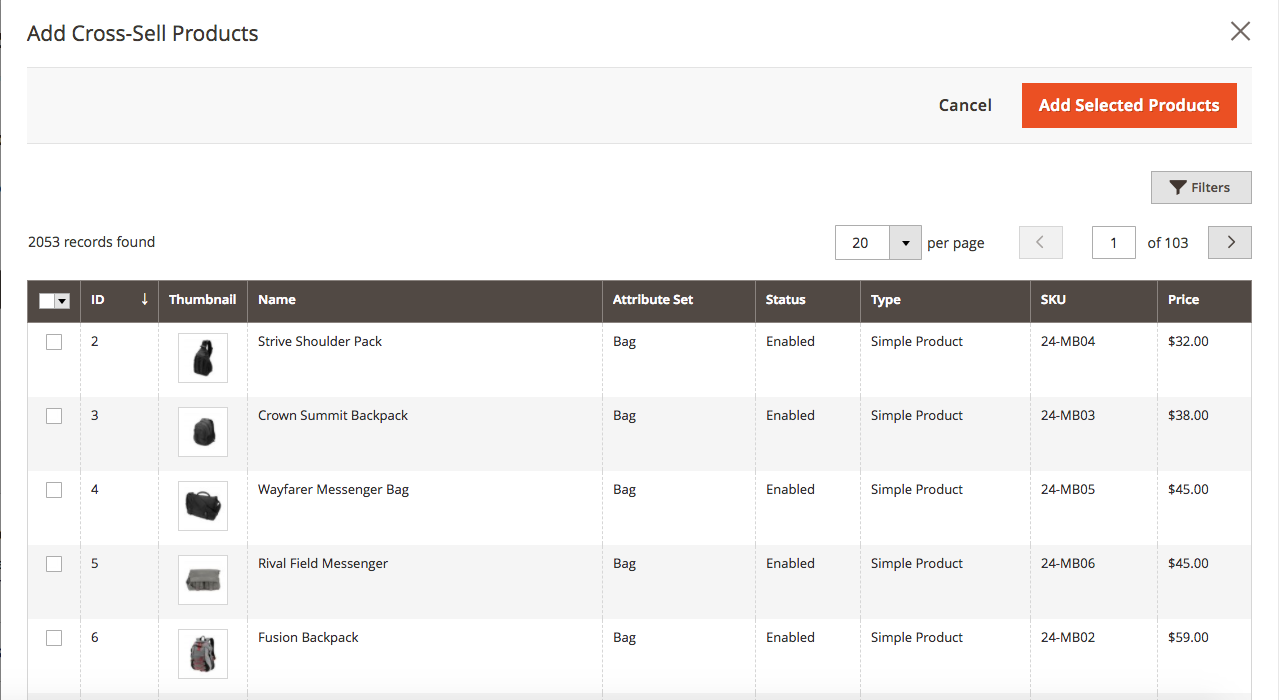
Note: If you have a lot of products, you may want to use filters by selecting the filters button on the top right to help you find the products you are looking for.
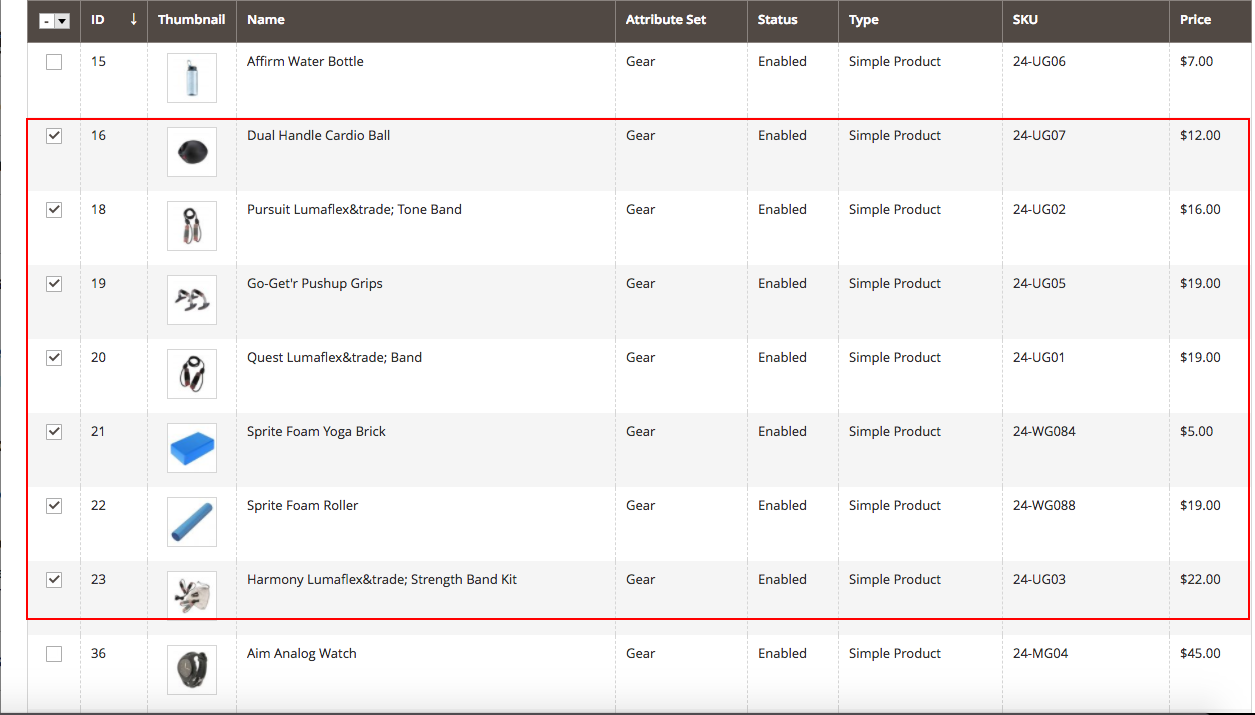
Step 5:
Select the products in the list that you want to add by selecting the checkbox next to the product. Make sure that the status of the product you are adding is set to Enabled or your product will not be able to appear on your front-end.
In this case, we are adding cross-sells to a jump rope product, so I am going to add the other workout equipment products in my catalog.
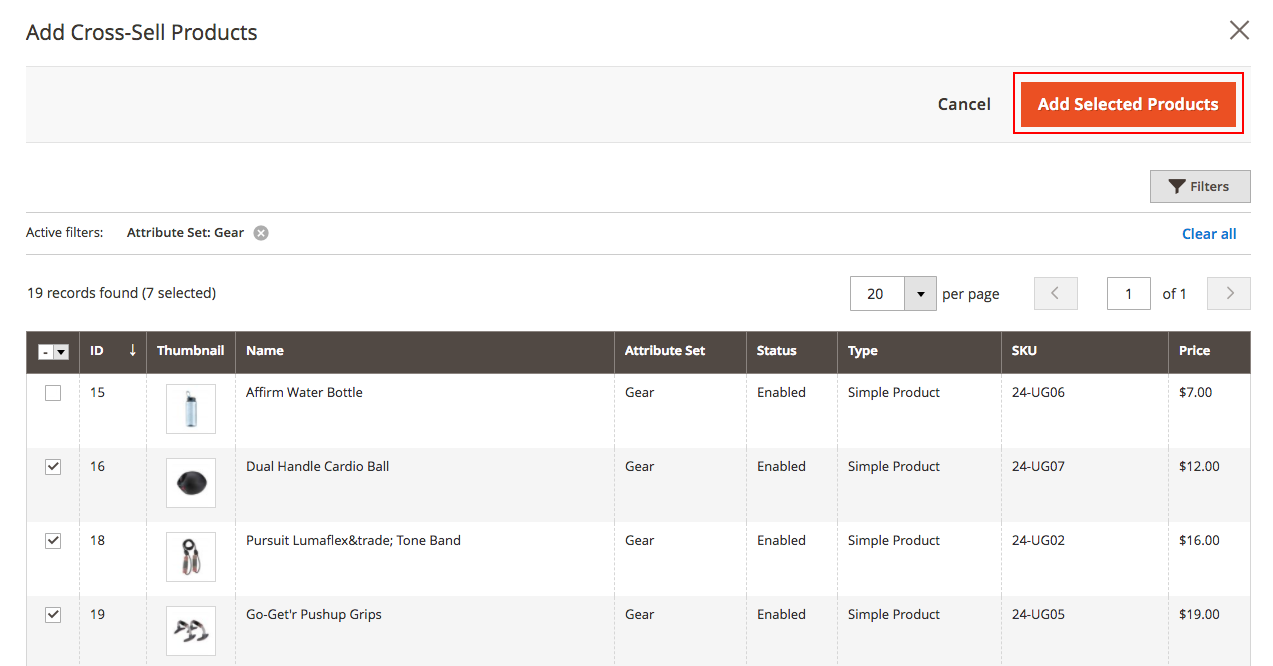
Step 6:
When you are done selecting the products that you want to add click the orange Add Selected Products button in the top right corner.
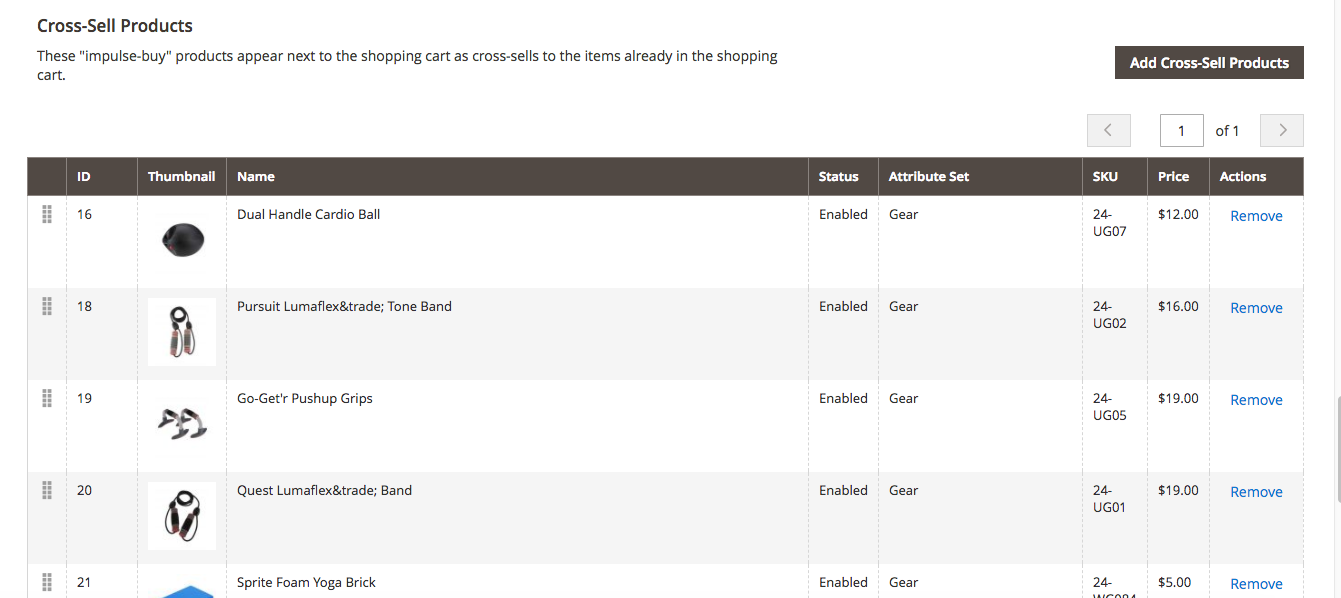
Step 7:
After you add your selected products, you will see the list of products you added appear back on the product edit page under the Cross-Sell Products section. You can easily remove them from this screen as well.
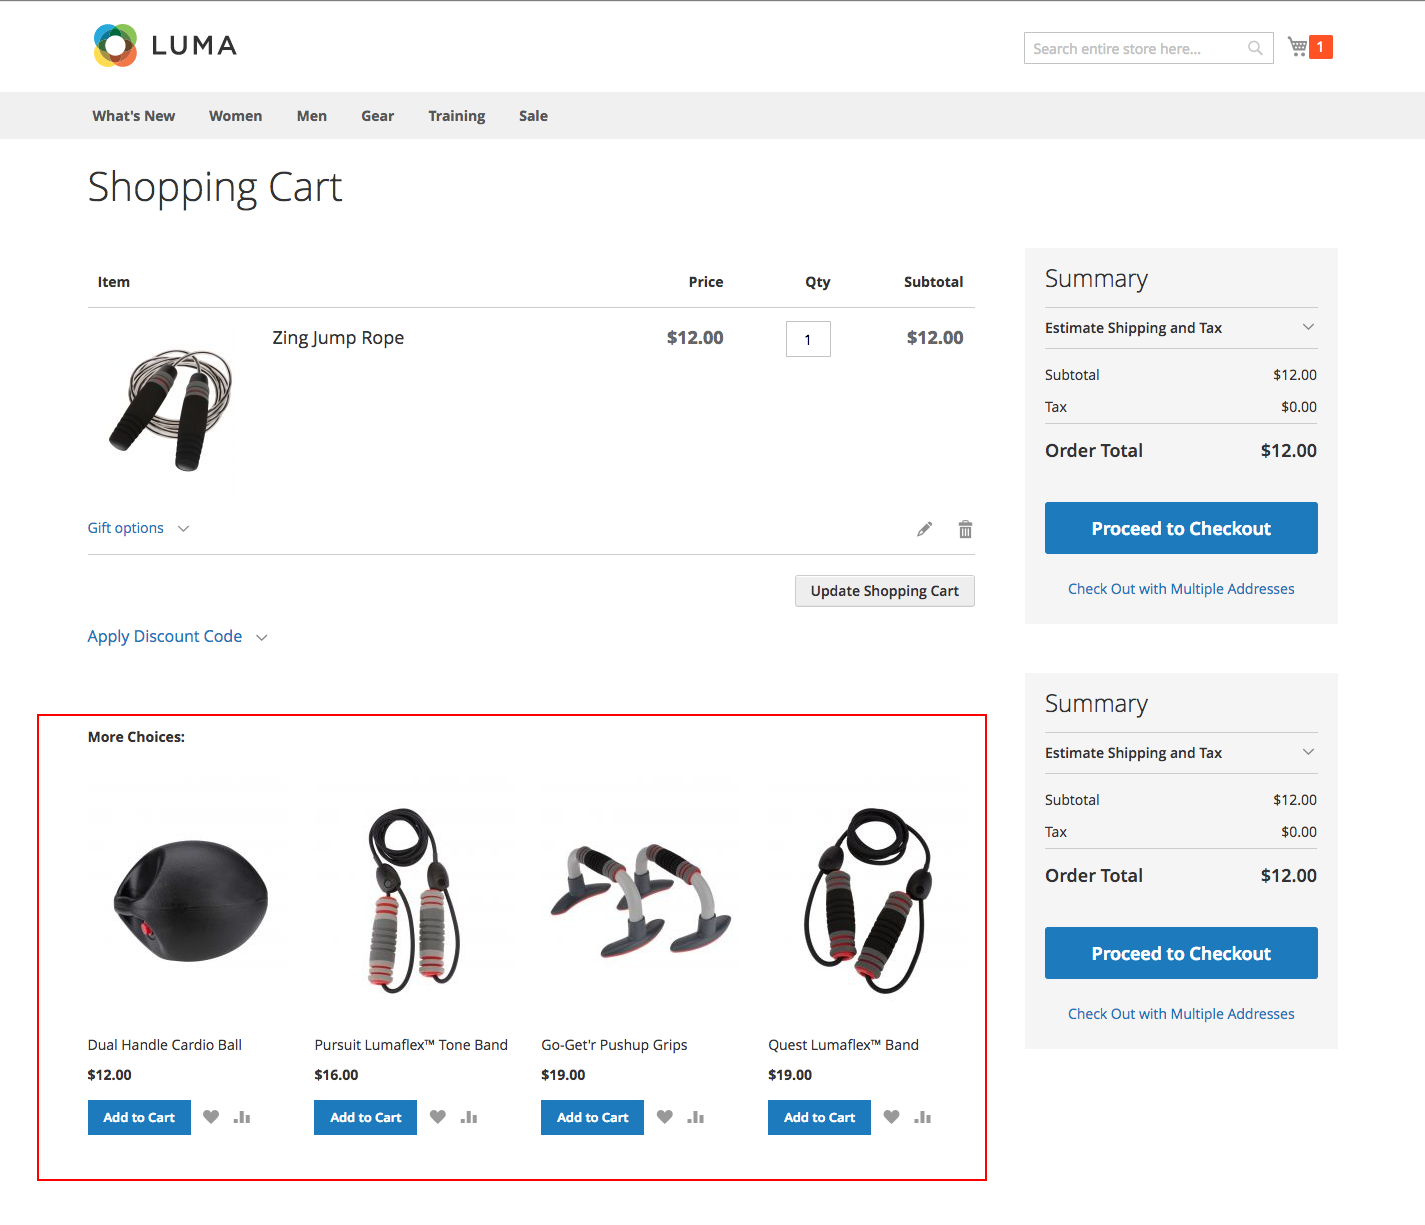
If you navigate to the product on your front end and then add it to our shopping cart, and view our cart we will see a section towards the bottom that is labeled “More Choices:” with the cross-sell products we just added.
What are Related Products?
Related products are usually product suggestions given to a customer that are the same category or type of product as a product they are already looking at. Related products can be useful if you want to promote some of your lesser-known products or bring attention to other products in the category.
For instance, if you ran an outdoor goods store and a customer is on a product page for hiking poles, you might want to show the other models and brands of hiking poles as related products.
In Magento 2 related products appear on product pages, however, the location and look of the related products block may vary based on your theme and page layout. Customers can also add the product to their cart simply by clicking a checkbox next to the product image.
How To Configure Related Products on Magento 2
Step 1:
From your Magento 2 backend administrative dashboard, navigate to: Catalog > Products
Step 2:
Select the product you want to add up-sell products to and open the product in the product edit screen by clicking “edit” under the action column.

Note: The columns on your Products page may look different than the above example depending on how you have your column view settings configured.
Step 3:
On the product edit page, scroll down to the Related Products, Up-Sells, and Cross-Sells section and click the arrow on the right to expand it.
Step 4:
Select the Add Related Products button to bring up the screen to select the products you want to add. On this screen, you will see a list of all of your products.
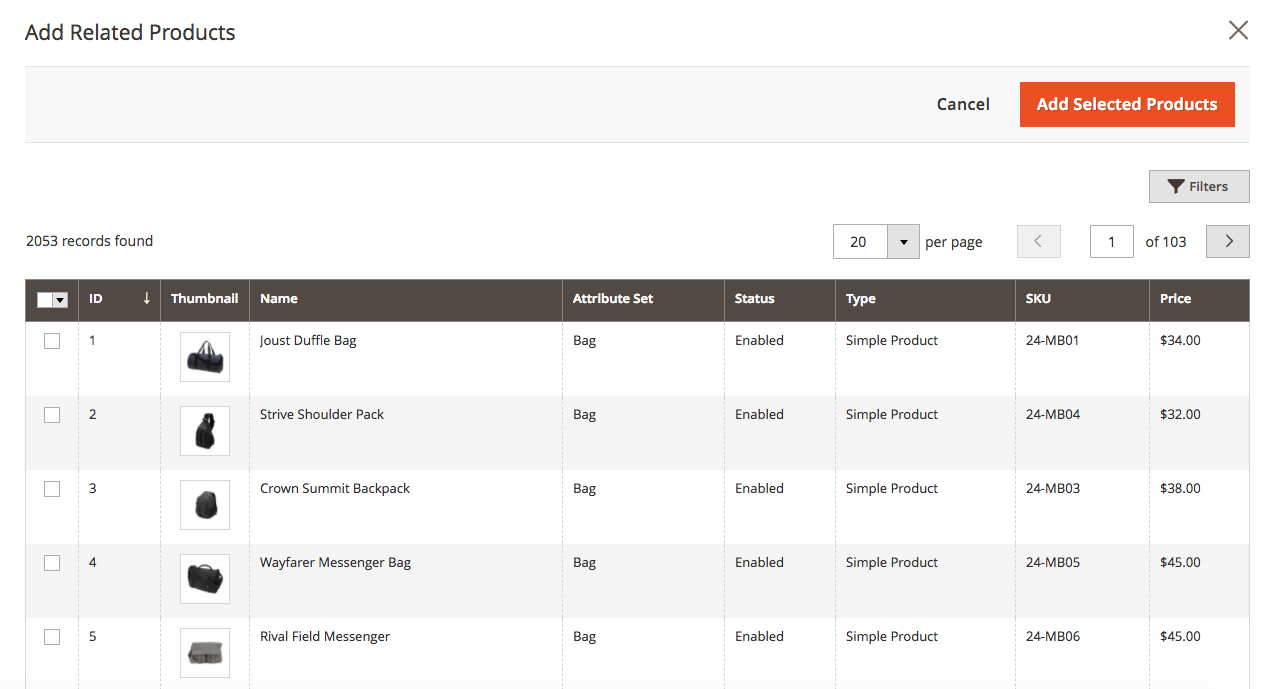
Note: If you have a lot of products, you may want to use filters by selecting the filters button on the top right to help you find the products you are looking for.
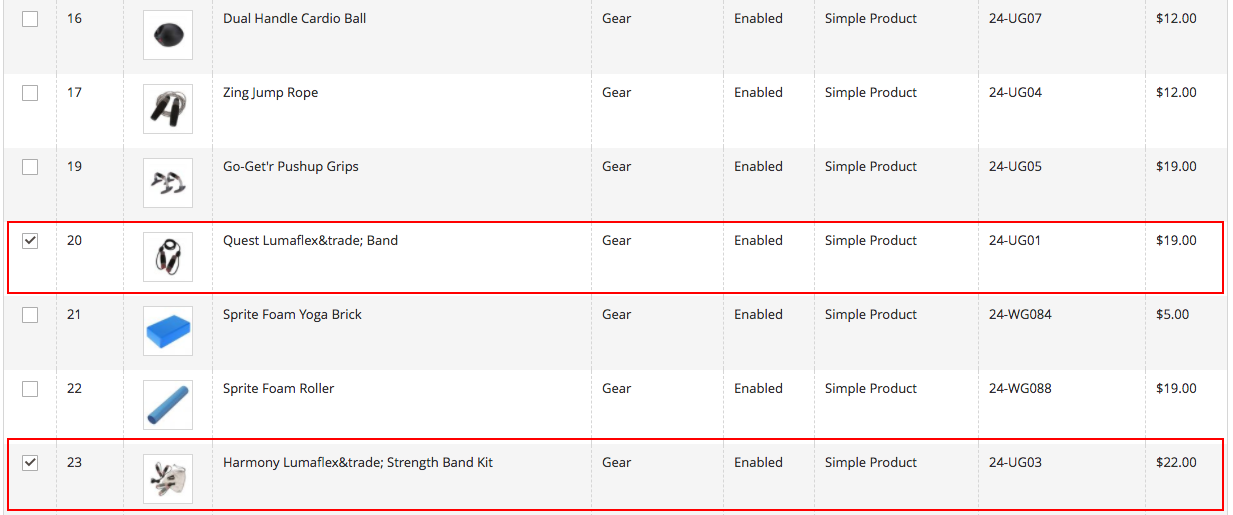
Step 5:
Select the products in the list that you want to add by selecting the checkbox next to the product. Make sure that the status of the product you are adding is set to Enabled or your product will not be able to appear on your front-end.
In this case, we are adding related products to a toning band, so I am going to add all of the other toning bands in my catalog (regardless of model or price).
Step 6:
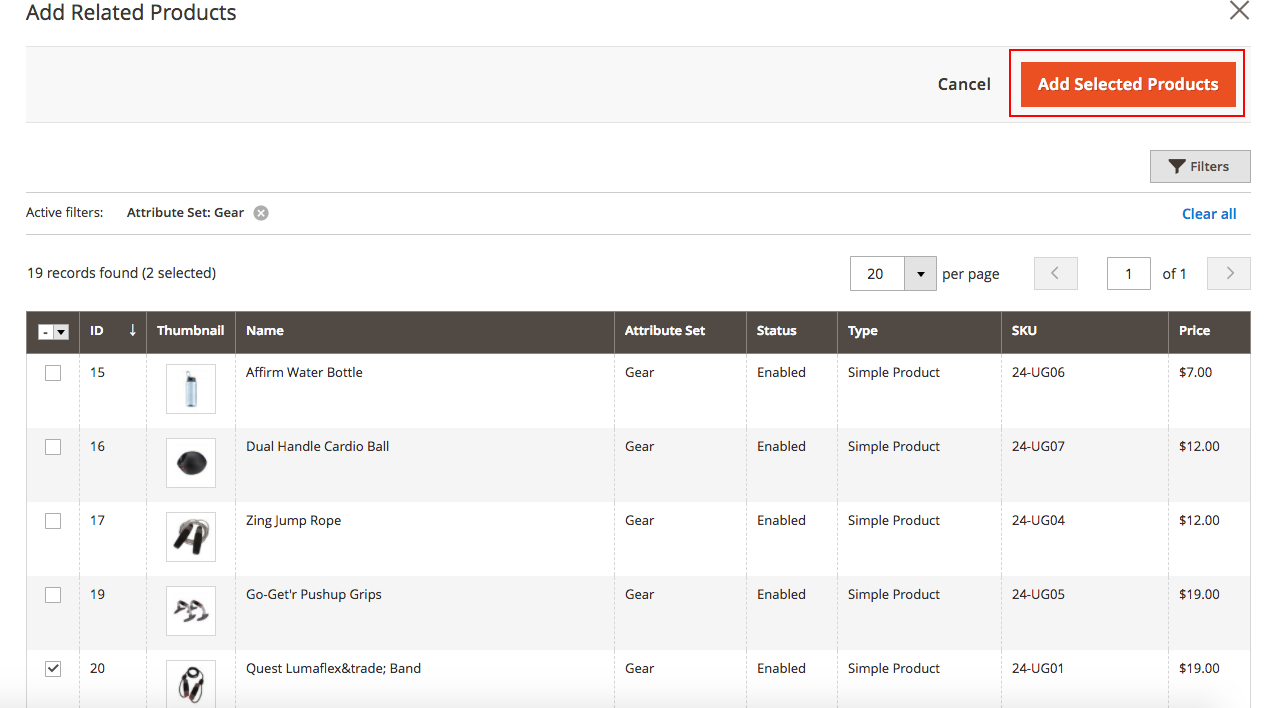
When you are done selecting the products that you want to add click the orange Add Selected Products button in the top right corner.
Step 7:
After you add your selected products, you will see the list of products you added appear back on the product edit page under the Related Products section. You can easily remove them from this screen as well.
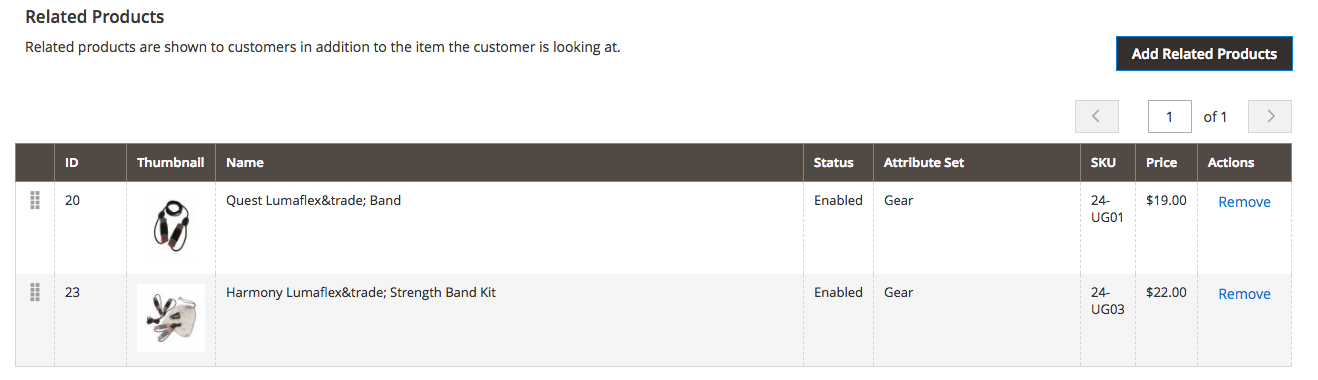
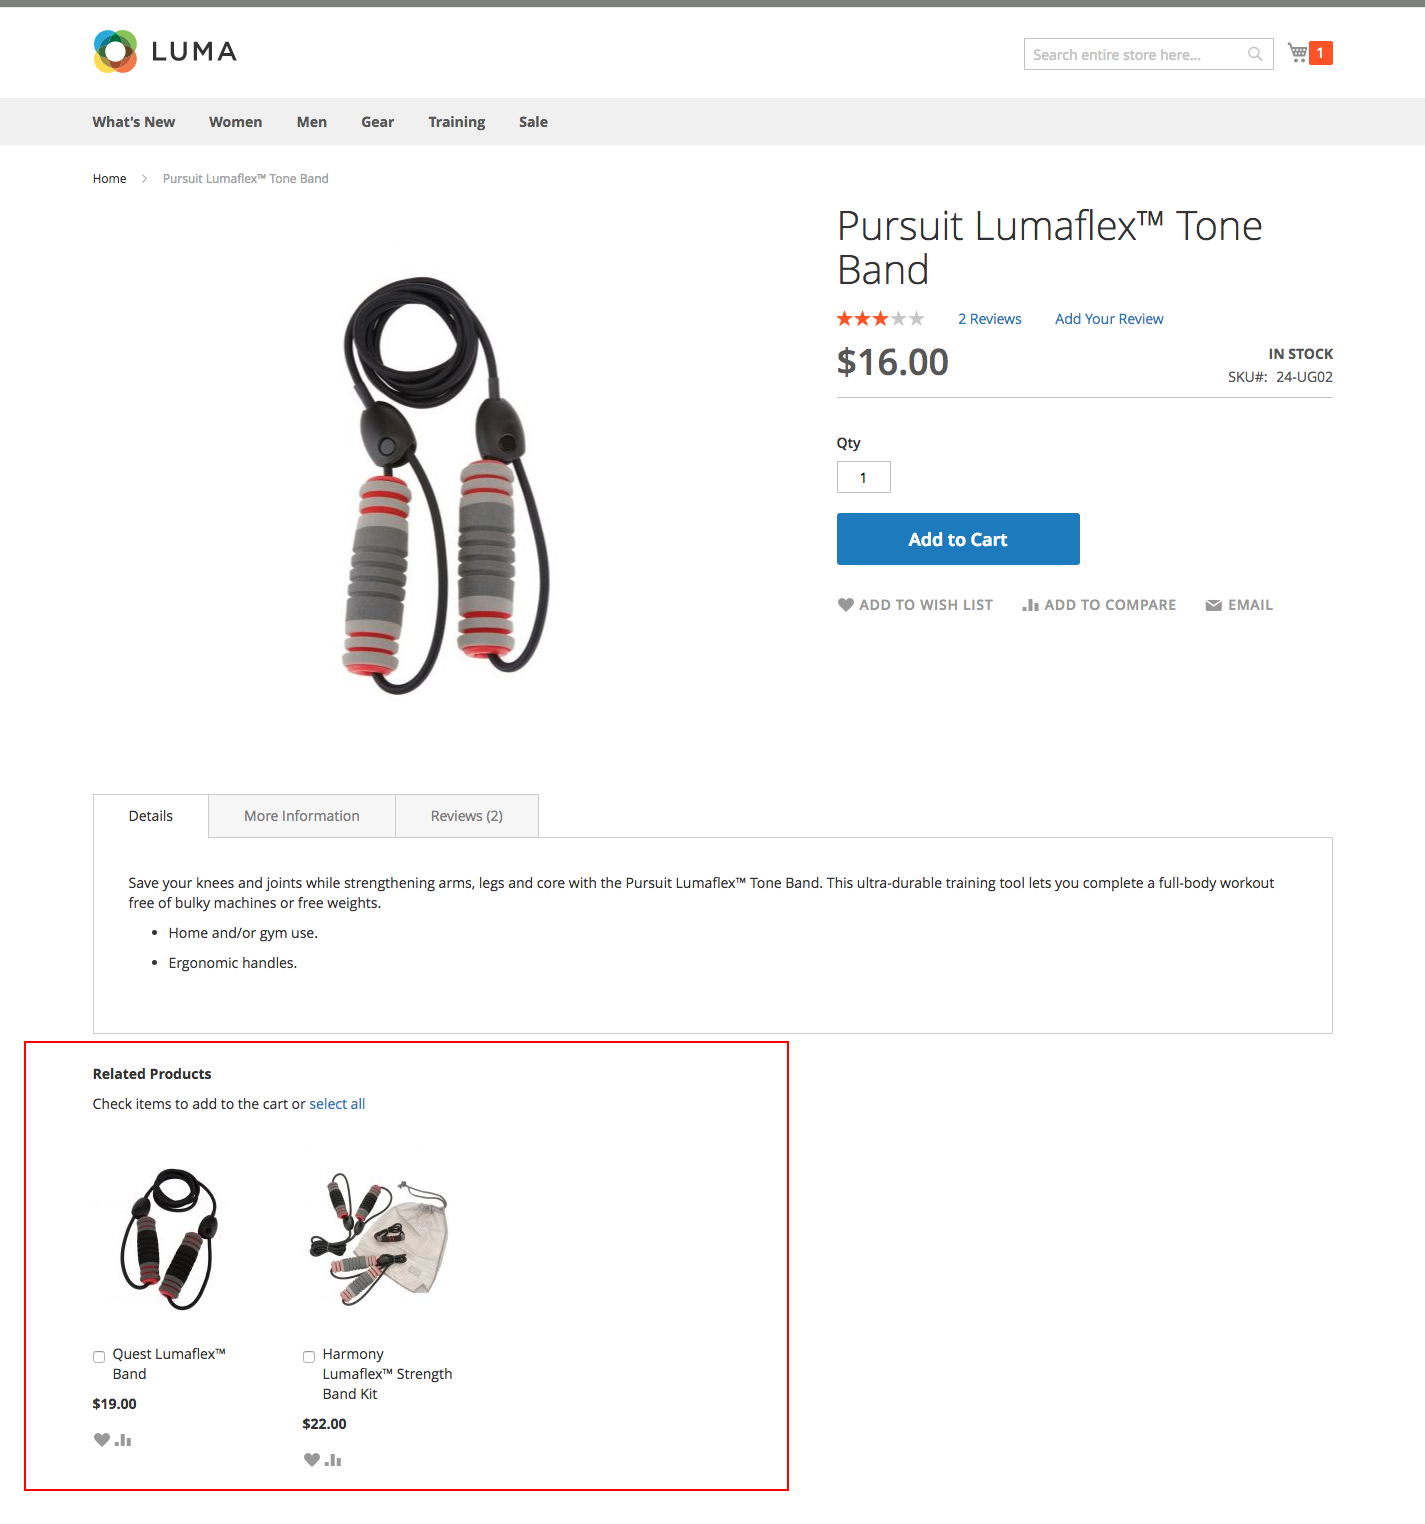
If you navigate to the product page on your front end we will see a section towards the bottom that is labeled “Related Products:” with the related products we just added.
Closing Thoughts
Magento 2 boasts many powerful personalization and marketing tools to help you sell more – up-sells, cross-sells, and related product options are just a few of these features.
How do you utilize Magento 2’s marketing tools? Need optimizing your Magento 2 store to increase sales? Connect with Customer Paradigm today to start reaching your eCommerce goals.

About Kelly Mason
Kelly is a Marketing Assistant at Customer Paradigm. She loves creating engaging and educational content and connecting with the community through social media. Outside of the office, she can be found eating her way through Colorado one brunch at a time and hiking in Rocky Mountain National Park.