In part one of this two part “quick fix” we explored how to create a new page for your Magento 2.0 eCommerce website. This week we are going to take a look at creating a new CMS Static Block and then adding this new block to the page we created in last weeks tutorial.
A CMS Static Block is what allows a Magento site admin to add blocks of HTML (content) to a page. They are perfect for adding things like seasonal or sale banner, sizing charts, notices about return policies or anything that a store owner would like to control or update on a page quickly and easily. Static Blocks are easily updatable from the backend Magento administrative dashboard.
Problem: You want to create a new CMS Static Block and add it to a page on your Magento 2.0 website as a “non-tech” admin user.
Adding a static content block is one of the most frequent requests we get from clients. This is a very simple update that anyone – even a “non-tech” admin user of Magento can implement on their site. Simply follow along in the video below to learn how to create a new CMS Static Block and add it to a page on your Magento 2.0 website:
Creating a New CMS Static Block
Creating a new static block can be done through the backend administrative dashboard. In the following steps we will be creating a new CMS Static Block that contains a banner to advertise a sale. However you could follow the steps and insert any sort of content you want to appear on your page into your block.
Follow the steps below to quickly and easily create a new CMS Static Block for your Magento 2.0 website:
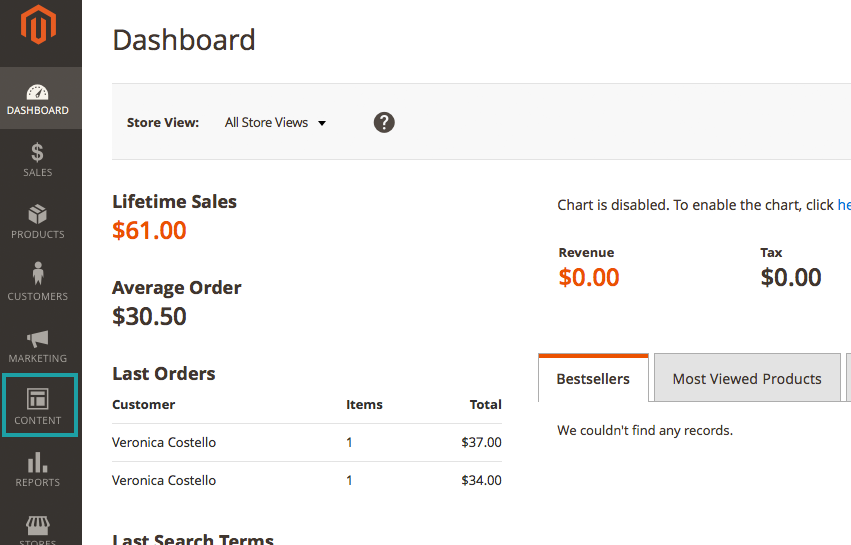
1) From your Dashboard –
In the left-hand menu choose “CONTENT”
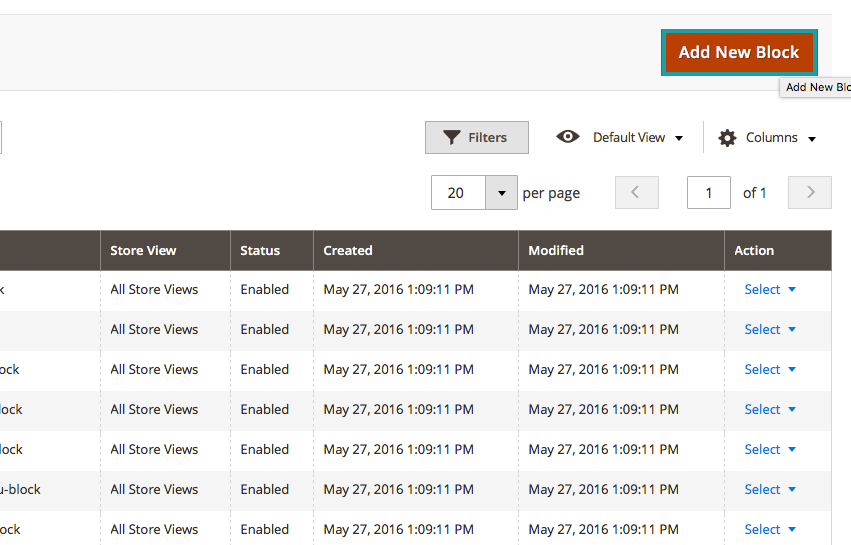
2) Under CONTENT –
Select “Blocks”

3) On the “Blocks” Page –
Select “Add New Block”
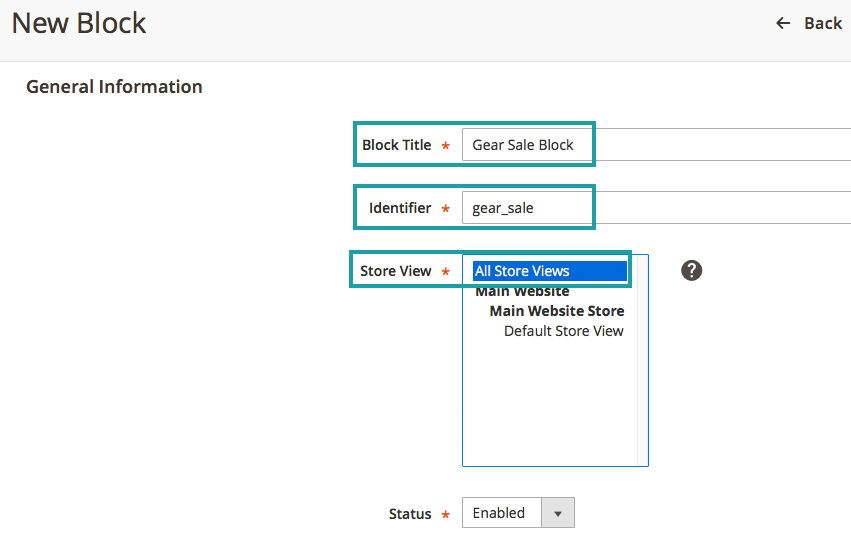
4) On your “New Block” –
- Create a “Block Title”
- Create a “Block Identified (this is how your block is called in the code)
- Select “Store View” (typically you will always select “All Store Views”)
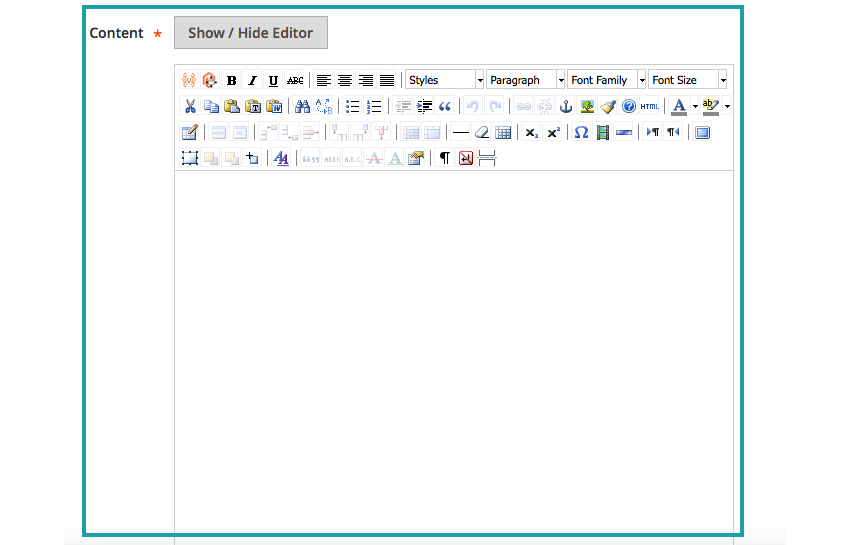
5) Scroll down to “Content” –
In this editor you can style your CMS Static Block any way you want
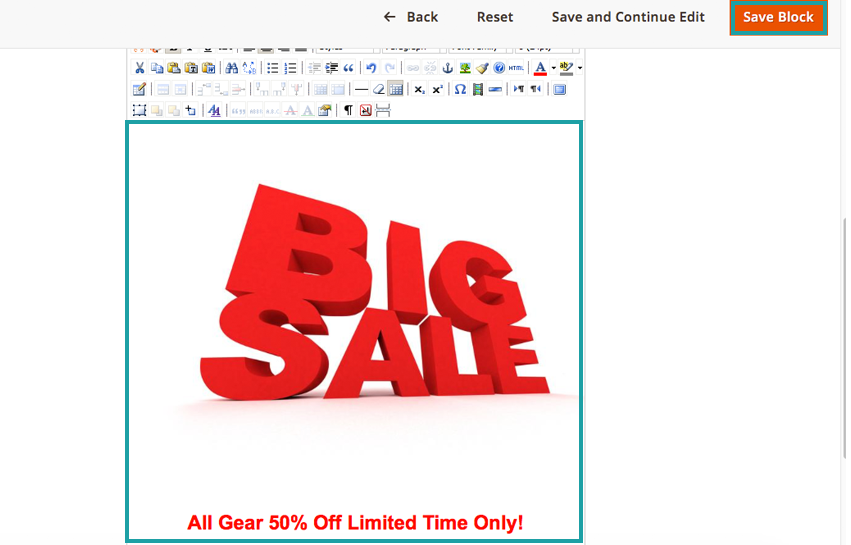
6) Once you have styled your block –
In the top right hand corner hit “Save Block”
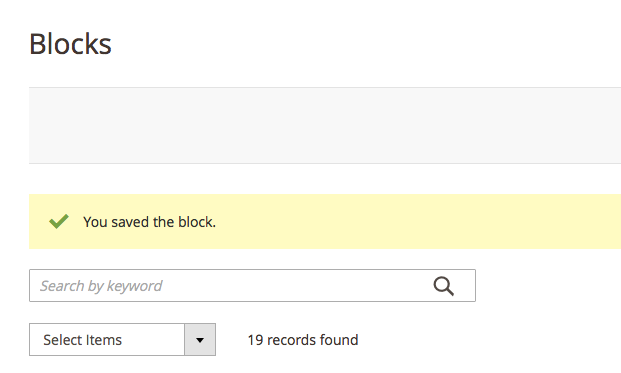
7) After hitting “Save Block” –
You will get a confirmation screen showing that your block was saved – returning you to the menu with all of your other saved CMS Static Blocks
Adding a CMS Static Block to a Page
Adding a CMS Static Block to a page can be done through the backend administrative dashboard. In the following steps we will be adding the block we just created to the new page we made in last weeks tutorial. However you can follow these same steps to add your block to any page on your website.
The steps below to quickly and easily add your new CMS Static Block to a page on your Magento 2.0 website:
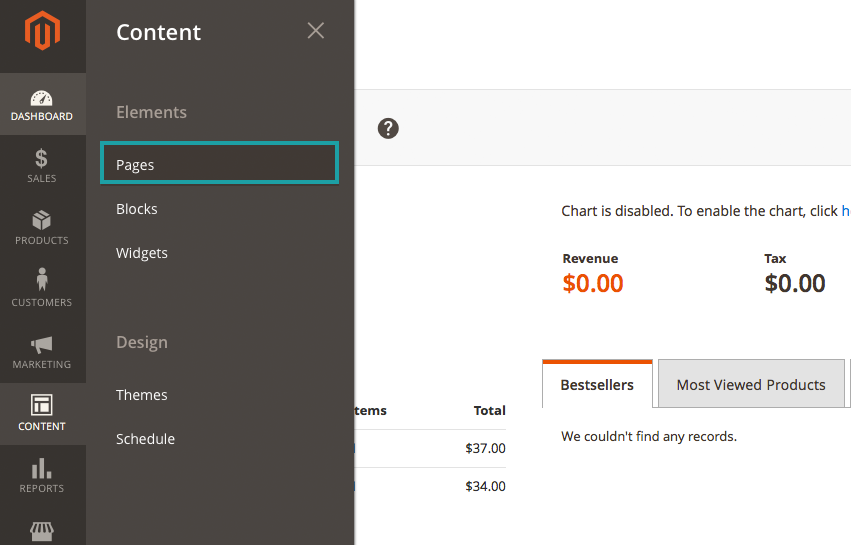
1) From your Dashboard –
In the left-hand menu choose “CONTENT”
2) Under “CONTENT” –
Select “Pages”
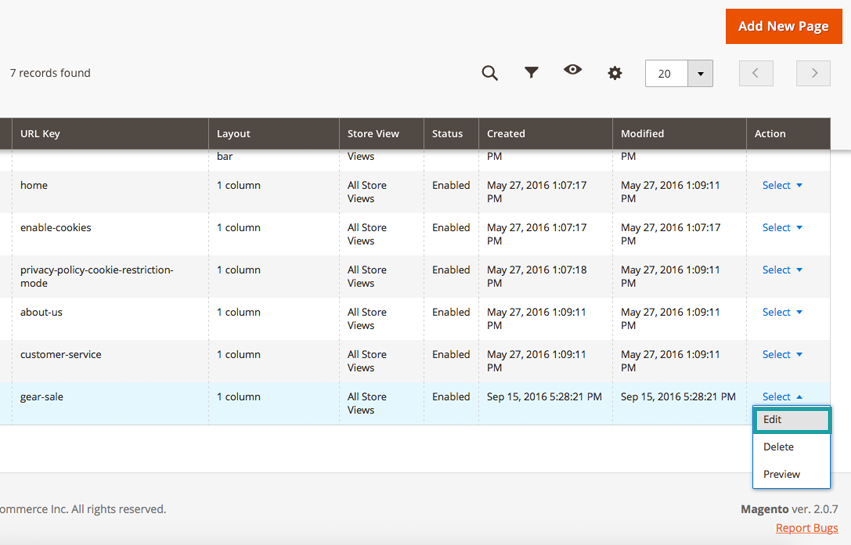
3) From the “Pages” list –
We are going to select the “gear-sale” page we created last week, under the action column click “Select” and then “Edit”
4) On the page edit screen –
Select “Content” from the “Page Information” menu

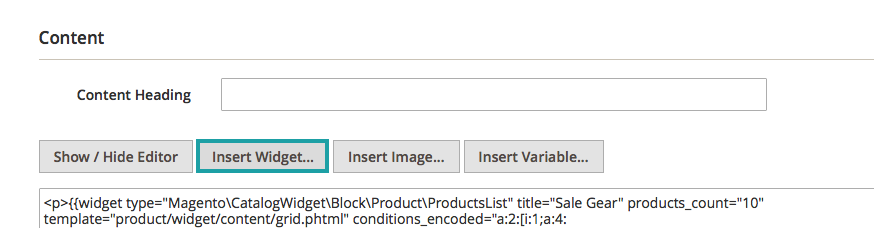
5) Click “Show/Hide” Editor
This will give you the following expanded menu of options to choose from – “Show/Hide Editor”, “Insert Widget…”, “Insert Image…”, “Insert Variable…”

When the expanded menu appears, select “Insert Widget…”
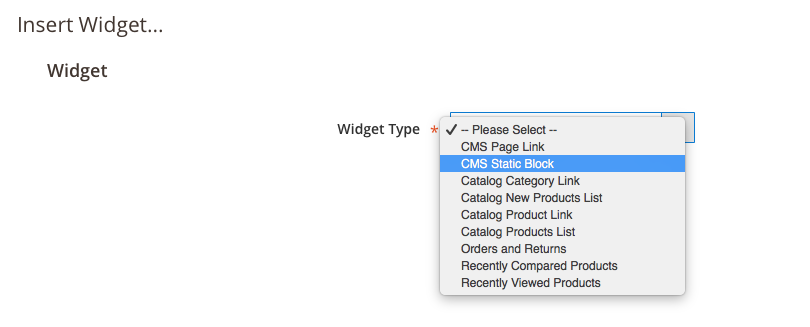
6) Insert Widget –
Under the “Widget Type” dropdown menu select “CMS Static Block”
7) After selecting “Widget Type” –
Under “Widget Options” click on the “Select Block…” button
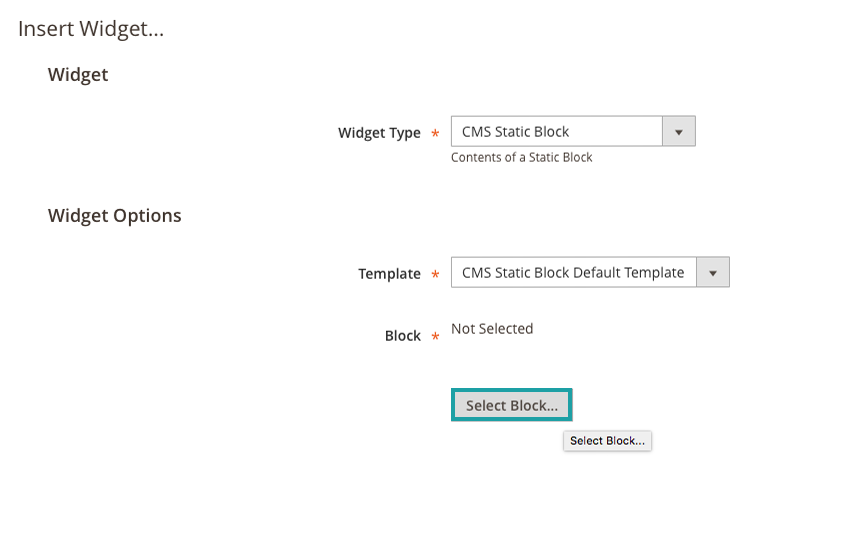
A menu of all enabled CMS Static Blocks that we can choose from will come up – we are going to select the “Gear Sale Block” we just created in the first half of the tutorial. After you have made your selection click “Insert Widget”

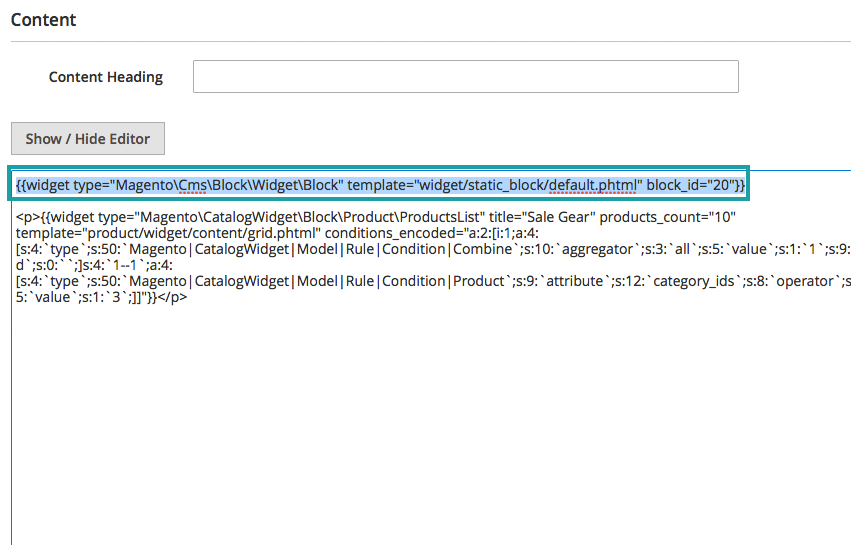
8) After inserting –
You will see a line of code appear in the bottom of the editor, below the widget we added in the last tutorial. This will cause our CMS block to show up at the bottom of the page. If you want your block to be at the bottom of the page, fee free to leave this line of code here. If not, go ahead and highlight it, and cut it (ctrl-x) at this time.
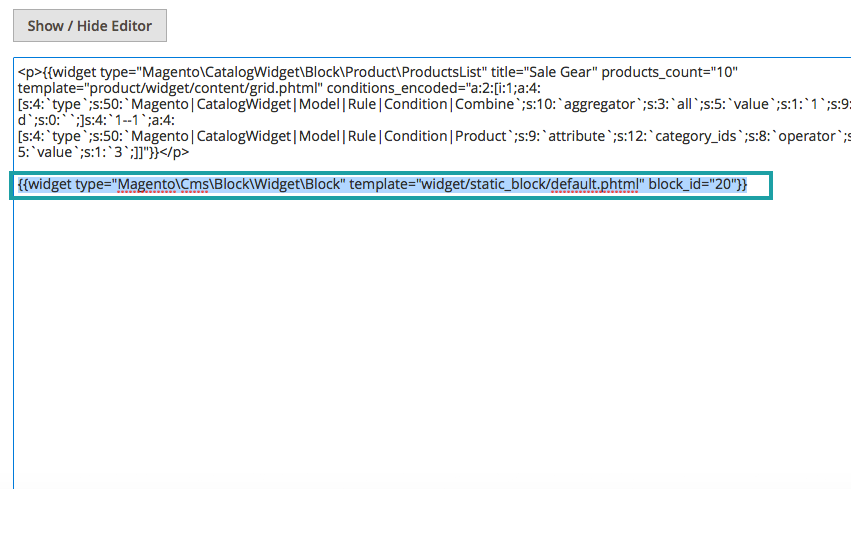
If you want your CMS Static Block to appear at the top of the page – which in this case we do – go ahead and past (ctrl-v) the code we just cut from the bottom of the editor above the code that was previously in the editor for the categories widget. When you are finished hit “Save Page” in the top right-hand corner.
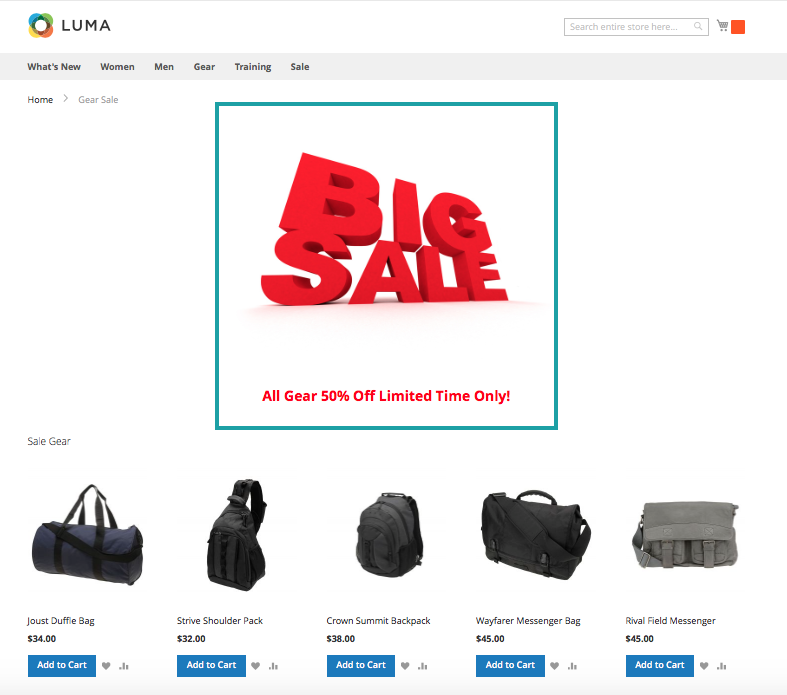
9) Navigate to your page –
You will see your new CMS Static Block (www.your-url/url-key) at the top of the page
For the non-tech oriented Magento admin adding pages or blocks can seem like a monumental task. However anyone can do it quickly and easily through the backend administrative dashboard without having to edit, or even know any code. If you are looking to add something simple and quick to your website – it really can be that easy!
Customer Paradigm is a Magento Certified Development Agency – if you need help with Magento design services, Customer Paradigm could be the perfect fit for you! Call 303.473.4400 or visit here to have a real person contact you now >>