You’ve spent weeks, if not months, working with your Magento Certified Developers to perfect every aspect of your brand new Magento 2.0 eCommerce website. You’ve dotted all your I’s, crossed all your T’s.
Now that it has been a few weeks since your site has gone live you might want to add a page to show a new category of items that you have just created, or create a new static block to advertise a sale on a page.
Problem: You want to add a page or a static block (or both) to your Magento 2.0 site as a “non-tech” admin user.
For the non-tech oriented user Magento might seem like an alien language. However, with a few basic skills anyone can navigate their way around adding the basics to a Magento site.
In this two part “Quick Fix” we will first take a look at how to add a new page to your Magento 2.0 site. Then next week we will take a look at how to create a new static block and add it to our new page. For the sake of this tutorial we will be focusing on Magento 2.0.
Creating a New Page
Creating a new page can be done through the backend administrative dashboard. In the following steps we will be creating a new page that pulls a category of products onto a page, however you could follow the steps to pull any desired widget or type of content onto your new page.
Follow the video or steps below to quickly and easily create a new page on your website:
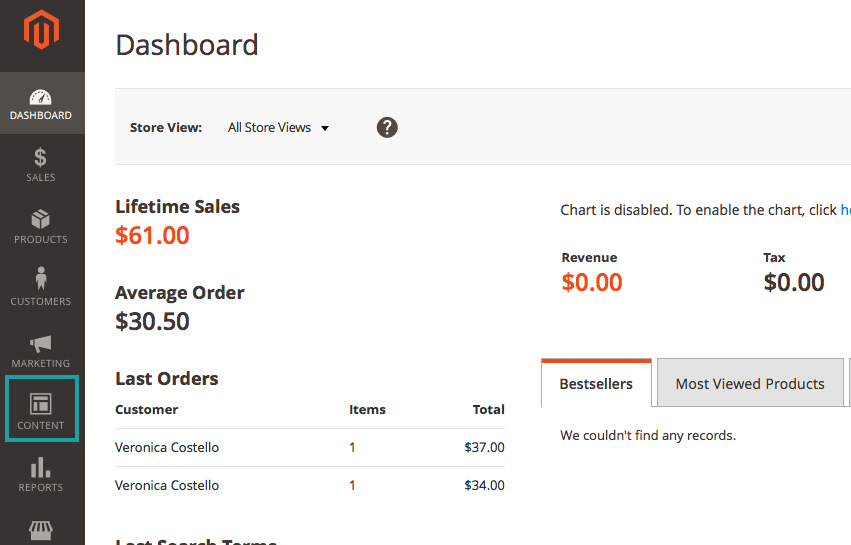
1. From your administrative user “DASHBOARD” –
You will look for the menu on the lefthand side. You will choose the option that says “CONTENT”
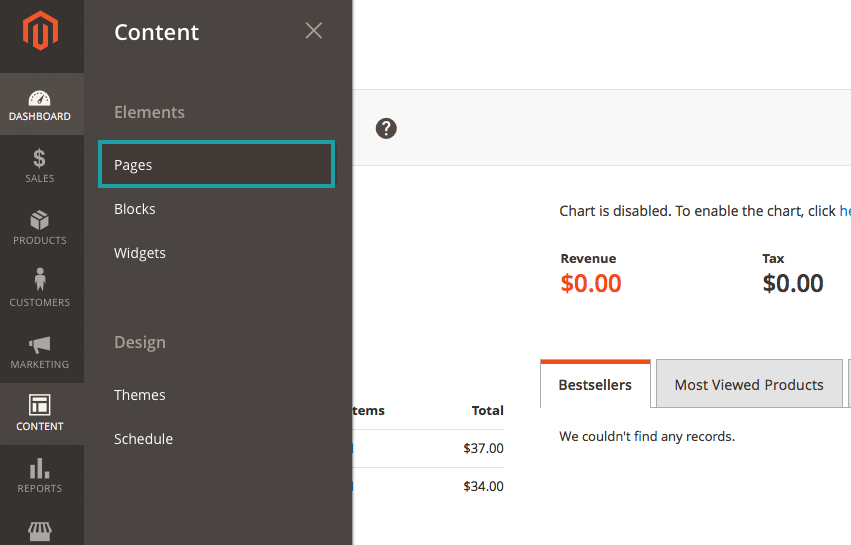
2. Under the “CONTENT” menu –
Select the option that says “Pages”
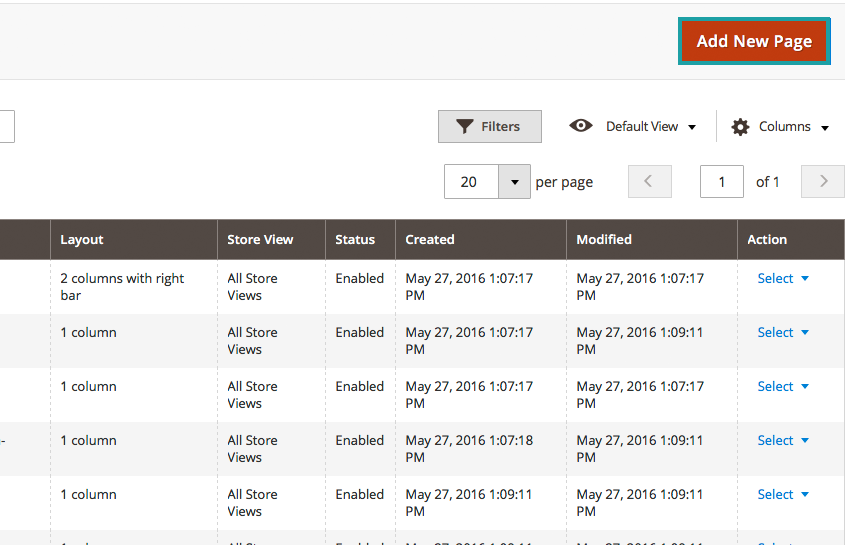
3. On the “Pages” screen –
Select the “Add New Page” button in the top left corner
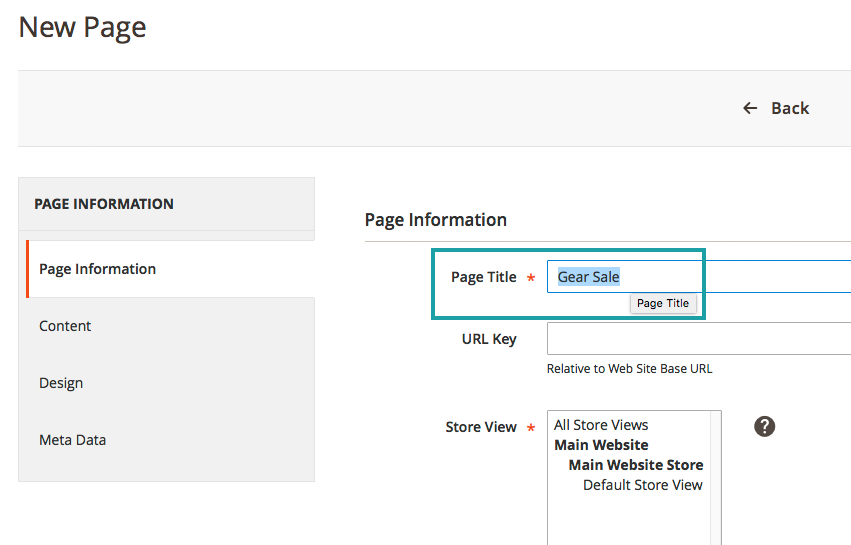
4. Once we have clicked “Add New Page” a new screen will come up –
Under “Page Title” we will name our new page. In this case, I am going to name my page “Gear Sale”. The URL key will generate relative to the page title you have selected, or you can create your own. I am going to let mine generate.
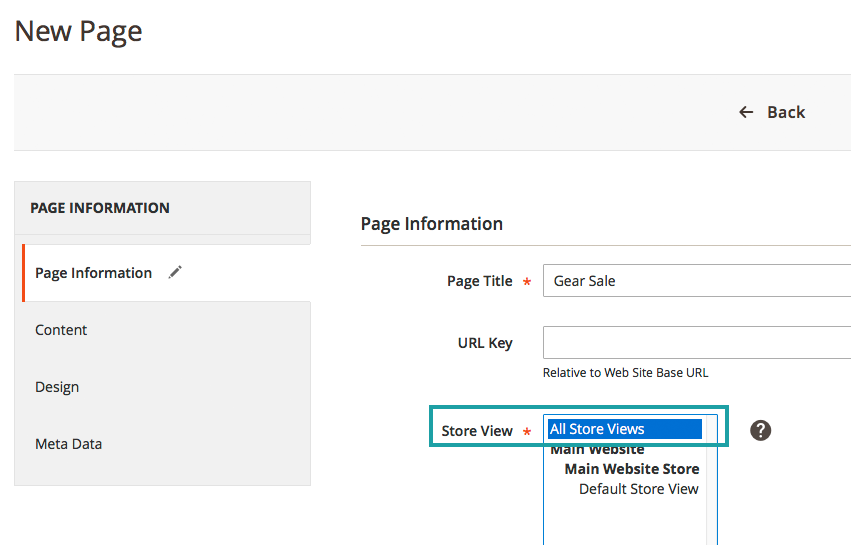
5. Under “Store View” –
Select “All Store Views”, Store Views are typically used to present the store in other languages – although can be used for other purposes as well.
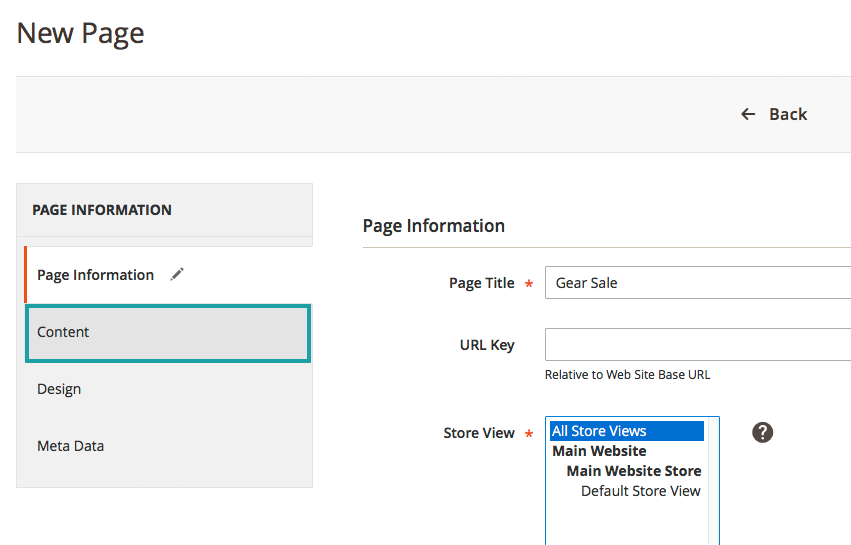
6. In the left-hand side menu –
Go to “Page Information” then select “Content”
7. From here you have several options when creating a new page –
Depending on what you want the content of your page to be you can use the editor, insert widgets, insert images or insert variables. We are going to click “Insert Widget”.
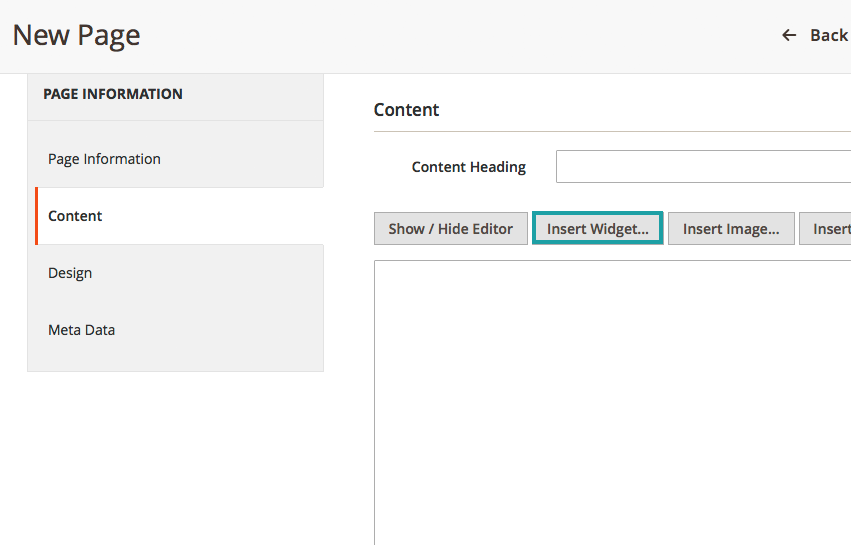
Once you have selected “Insert Widget” you will see this screen…
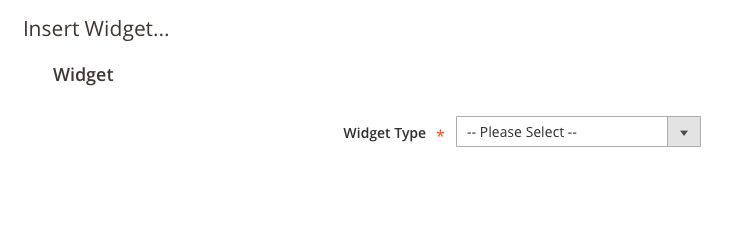
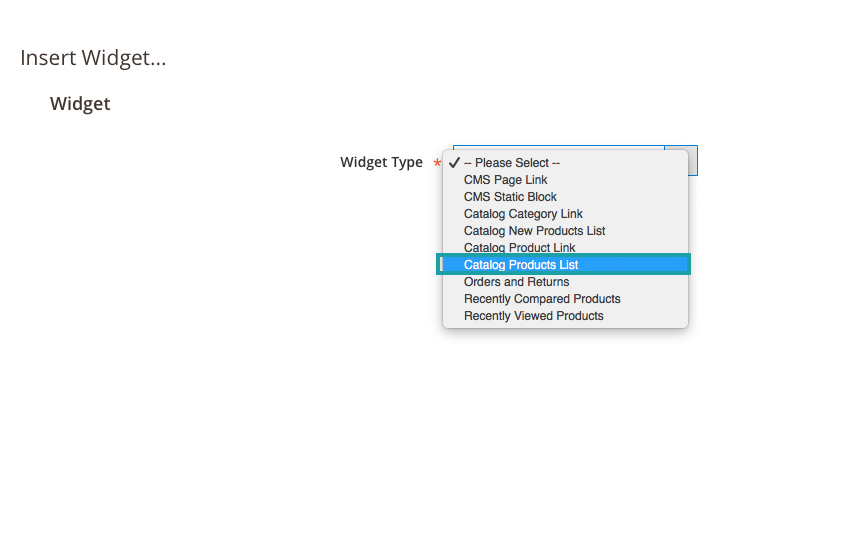
8. From the “Widget Type” dropdown menu –
You will see all the available widgets on your website. In this scenario we are going to select “Catalog Products List” as this option will allow us to retrieve a list of products on the page.
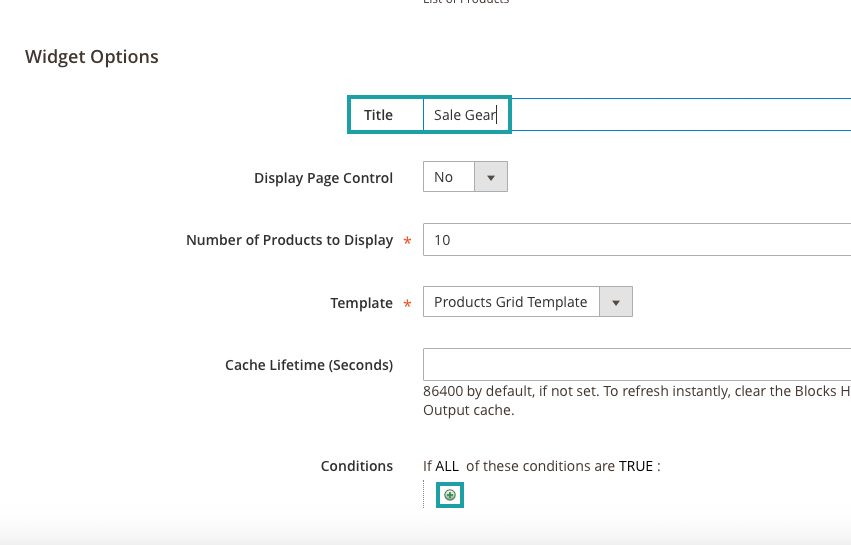
9. Under the “Options” –
Choose a title, and set any other options that apply to how you want the page to function. In this case I want to display 10 products in a grid formation. I will leave the cache at its default value. Once we have all of our settings configured we will go ahead and hit the plus sign (+) under “Conditions”.
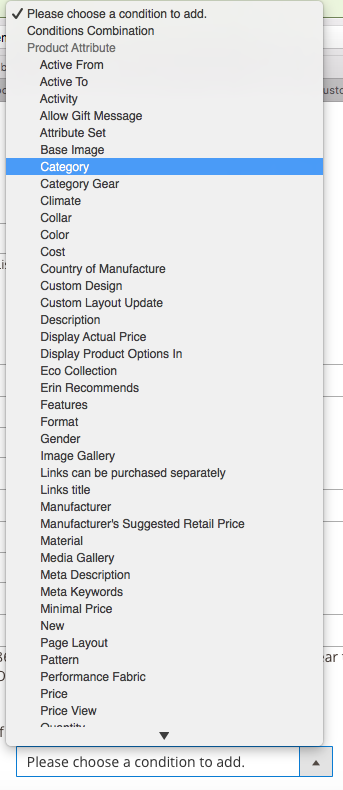
10. After you click the plus sign (+) you will be presented with a dropdown menu

From this dropdown menu –
Select which product attribute (or combination of attributes) you want to display on the page – in this case we are going to choose “Category”, this will allow us to go on to select a predetermined category of products to display on this page
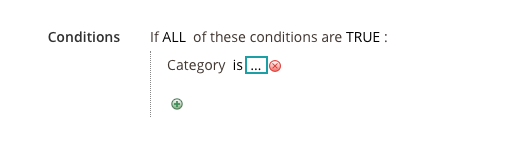
After selecting your product attribute –
In this case “Category” we will see “Category is…” at this time we want to click on the “…”
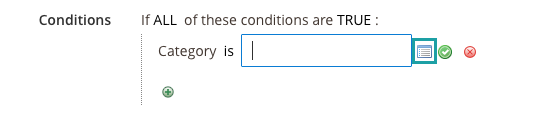
11. After clicking on the “…” –
A field will come up next to “Category is”, you will also see a small white and blue icon, which we will click on at this time
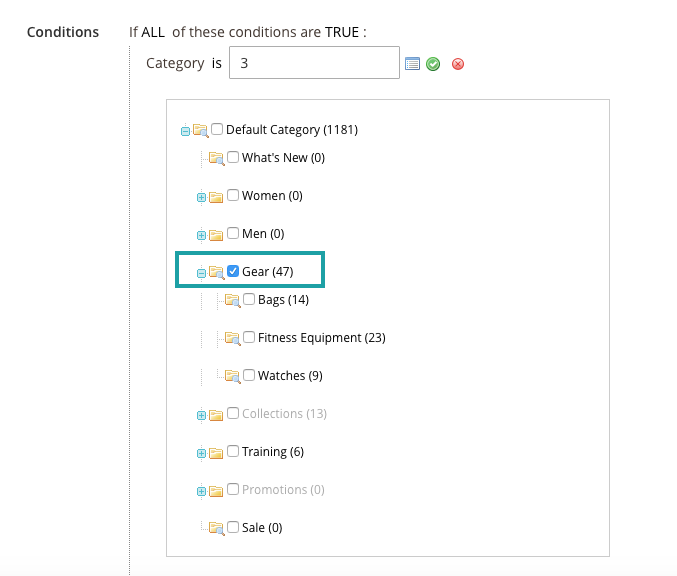
The white and blue icon will bring up our entire list of available categories –
I am going to choose “Gear”
12. Once you have completed your selections –
The code for the widget or content you have just inserted on your page will appear into the content box
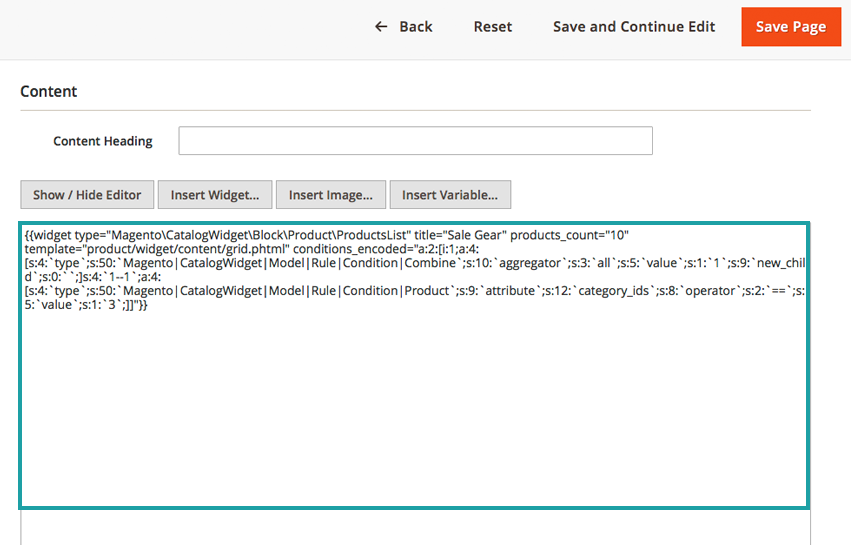
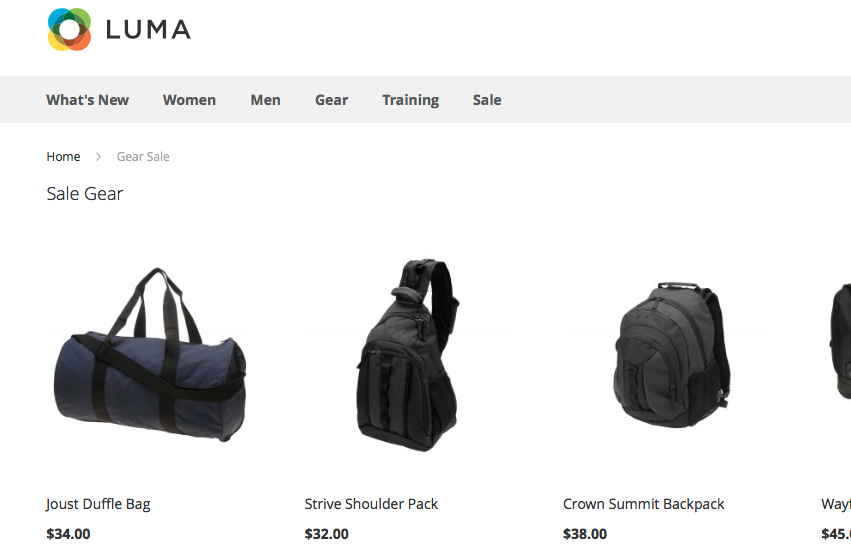
You can then hit “Save Page” –
To go visit your new page (“www.YourURL/URL-Key”, in this case our URL Key is “gear-sale”)
Now that we have learned how to add a new page to our site, stay tuned in for part two coming next Friday where we will learn how to create a new static block and add it to our new page.
Customer Paradigm is a Magento Certified Development Agency – if you need help with Magento design services, Customer Paradigm could be the perfect fit for you! Call 303.473.4400 or visit here to have a real person contact you now >>