Creating product categories is one of the most simple and basic tasks a Magento store owner should learn. Sorting your products by category not only makes it easier for your customers to search and find products, allows your stores navigation make sense, but it also helps you to stay organized.
Creating new product categories is simple from the backend administrative dashboard.
Creating New Categories
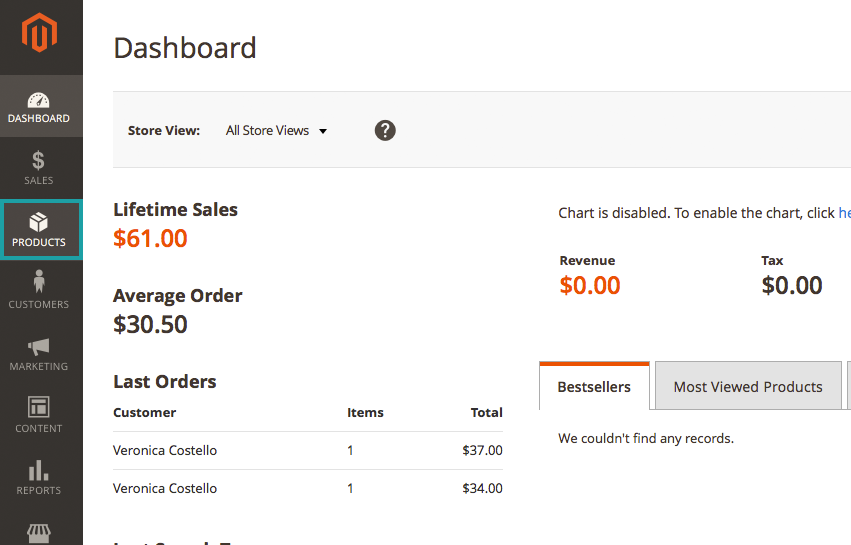
From the backend administrative dashboard –
Choose “PRODUCTS”
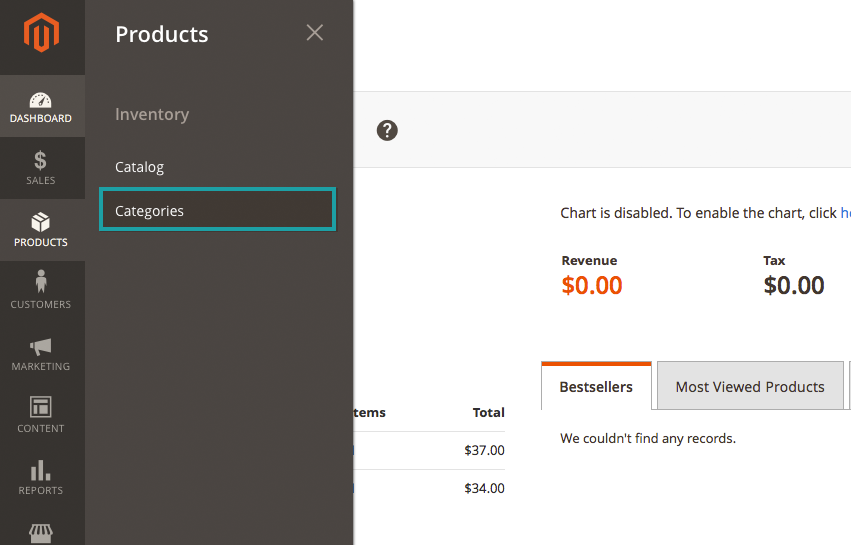
From “PRODUCTS” –
Choose “Categories”
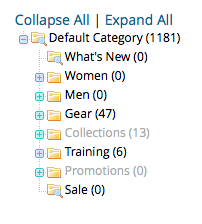
On the Categories page –
You will see your currently existing “tree” of categories to the left of the page. With the root category – in this case, “Default Category,” at the top and all of the subcategories and following subcategories expanding beneath it. You can select one of your existing categories to create a new sub-category under or create a new root category.
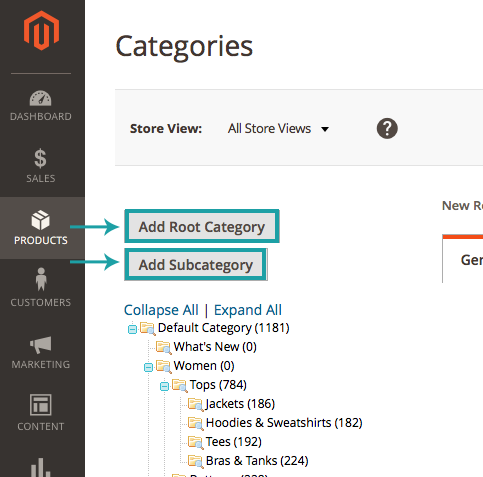
Once you have made your selection –
Click either “Add Subcategory” or “Add Root Category”
I am going to create a new subcategory under my “Training” category, so after selecting the training category I am going to click “Add Subcategory”
On the “New Subcategory” Page –
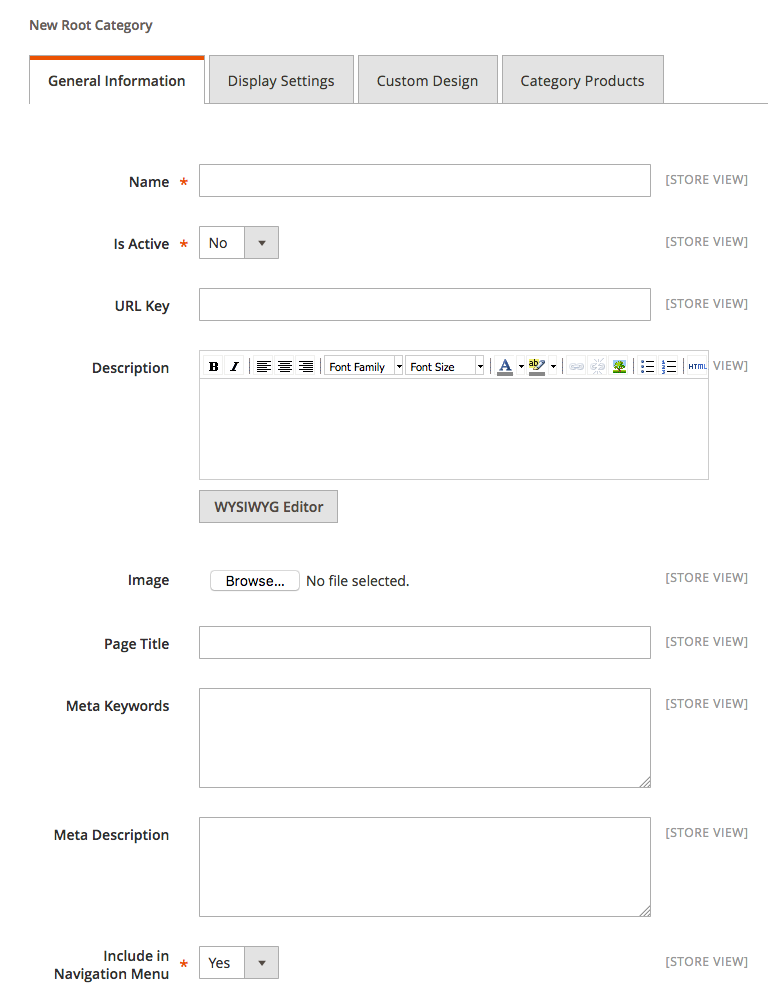
Start by filling out the “General Information” tab
- Name: The name of your new subcategory – this will also be reflected on your websites navigation
- Is Active: Denotes whether or not your category is active or inactive on your website
- URL Key: Fill in a descriptive URL, this is important for SEO rankings. If you leave this field blank a URL key will be generated for you.
- Description: Write a short description describing the contents of the category – again this is important for SEO rankings, the more information that search bots have to crawl that tell them what your page is about, the better you will rank.
- Page Title: Enter a page title for your new category page
- Meta Keywords: This field can be left blank, as Meta Keywords no longer hold any weight on SEO ranking and in some cases are thought to actually hurt your rankings
- Meta Description: Fill out with a description of the category – again this is helpful for SEO rankings
- Include in Navigation Menu: Choose if you want your new category page to show up in your navigation menu
At this point, press the “Save” button to save your progress.
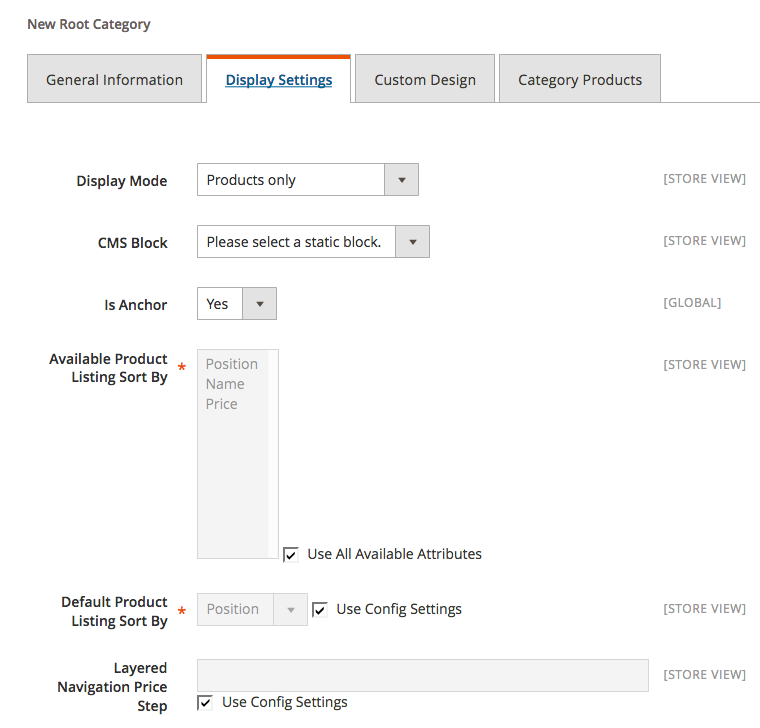
Click the “Display Settings” Tab –
Fill out your category display options
- Display Mode: Choose if you want your page to display the categories products, a static block, or both
- CMS Block: Choose which static block you want to display (if any)
- Is Anchor: Set to Yes/No – when set to Yes various product attributes are displayed in the layered navigation.
- Available Product Listing Sort By: If you want to limit the amount of product listing options, unmark the checkbox “Use All Available Attributes” and select the attributes you want.
- Default Product Listing Sort By: Has to be an attribute you made available from the list above
- Layered Navigation Price Step: Set a value if you want the layered navigation to show the products in the navigation menu broken down by price increment
Save your progress again by pressing the “Save” button.
At this point you now have a number of custom design options for your new category.
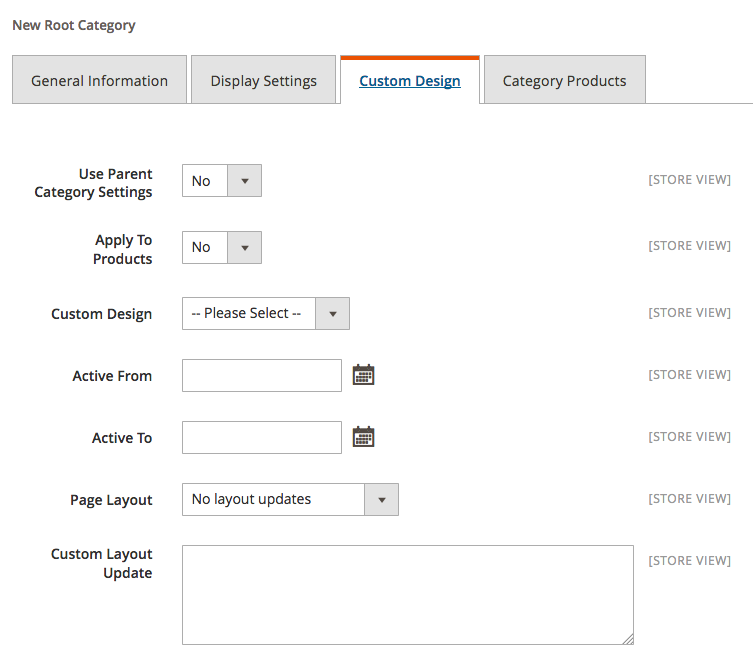
Click the “Custom Design” tab –
Fill out your custom design options
- Use Parent Category Settings: If you want your new category to mirror any settings already set for the parent category
- Apply to Products: “No” means that the settings only apply to the category pages and not the product pages, by changing this to “Yes” and settings will also apply to the product pages for the products in your category
- Custom Design: This option lets you choose the theme of the page from your installed themes
- Active From / To: You can designate when you would like your new category to go live
- Page Layout: Let’s you choose the page layout (number of columns, sidebar etc.)
- Custom Layout Update: For inserting custom code
When you have finished setting any custom design options you want for your category click “Save Category”.
After you have saved you can check out your new category page either by navigating from your layered navigation menu or going to www.yoururl.com/category.html if you set up a new root category OR www.yoururl.com/category/subcategory.html if you chose to create a new subcategory.
If you need help installing, configuring, maintaining or upgrading your Magento platform, Customer Paradigm can help! Call 303.473.4400 or visit here to have a real person contact you now >>